How I Modified My Toyota Vios (Yaris)
After years of dabbling in the workforce and many years of studies, finally I bought my first car, Toyota Vios aka. Yaris Sedan.
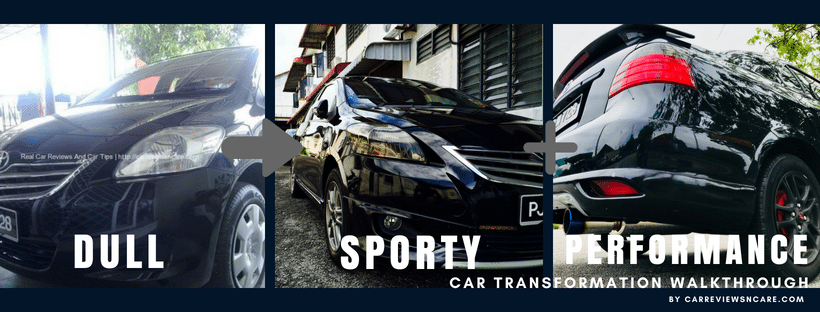
You may check also the Toyota Vios test drive story review, and watch the video here:
Once upon a time, my Toyota Vios J spec arrived at my house on 31st October 2010. On the same day, I went to the nearest Costco gas station, filled up the tank and took the car for a spin. I noticed the steering of the Toyota Vios J is very light. I can even parallel parking with my fingertips, thanks to the small 14′ steel rims and small profile tire 175/65/14.
The light weight of the Toyota Vios (Yaris) steering is almost equivalent to Perodua Myvi’s steering weight.

A week later, I got to drive my new Toyota Vios (Yaris) to Kuala Lumpur from Penang with my family members. During the journey, I was crushing at highway speed at 110~120km/h, and I found the steering to be pretty light while staying in the fast lane, because the car felt like it was ‘floating’ on the road.
At that moment, I have decided to improve the handling of the car.
I went to Bukit Mertajam (BM), which is known as “heaven of auto accessories”, to hunt for my tires and other auto accessories parts when I got back from Kuala Lumpur.
Then, I installed the old version of Toyota Vios 05′ 15 inch rims with DUNLOP Formula 01 tire with a profile of 195/55/15 for RM600. The shop owner took my new tires with RM400 at trade-in value.

I know it sound “lame” to swap my wheels to 2nd hand rims, but that was what I can get with my tight budget because I am going to upgrade other parts of my Toyota Vios (Yaris) too.
Then I went to install fog lamps that costed me RM300 and I opted to upgrade my halogen bulbs to 6000K High Intensity Display (HID) set which cost me another RM300. And I also installed TRD spoiler that cost me another RM325. Gosh! This fog lamps, HID and spoiler are expensive! These 3 items were bought and installed at Aun Accessories Shop. I strongly advise you not to purchase anything from the shop because their items and services are OVERPRICED! The workmanship is not that good as well I as I encountered countless issues on my HID fog lamps (wiring issue) and the spoiler (water leakage).
That was my first lesson and mistake of car modification because I did not go to survey the other shops that might get the better offer with cheaper price and better services. I learned my lesson.
Then I found out 99 Accessories Shop which is just somewhere less than 1km radius away from that expensive shop. 99 Accessories Shop offers much cheaper auto accessories.
Alternatively, you may shop for cheaper stuff through online web pages such as Lelong, Ebay and Amazon.
Below is the TRD spoiler that installed on my Toyota Vios J. Now the car got wing already!
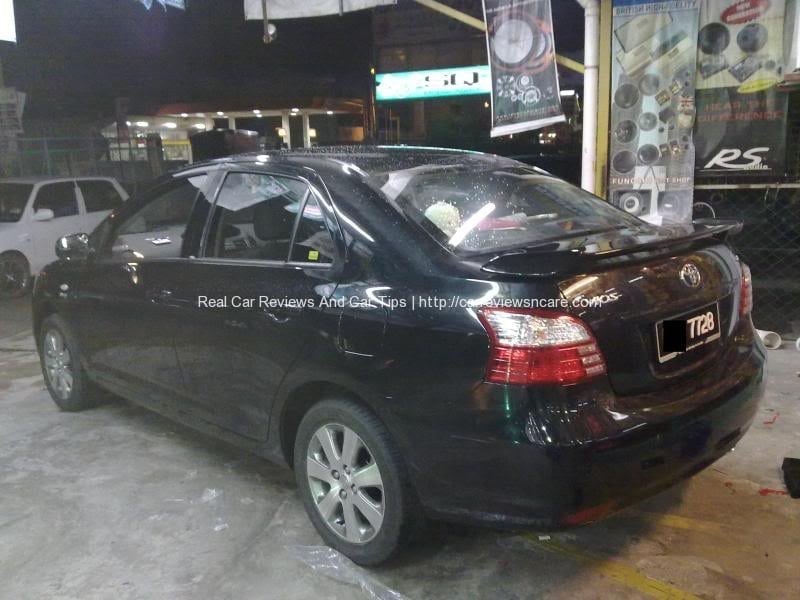
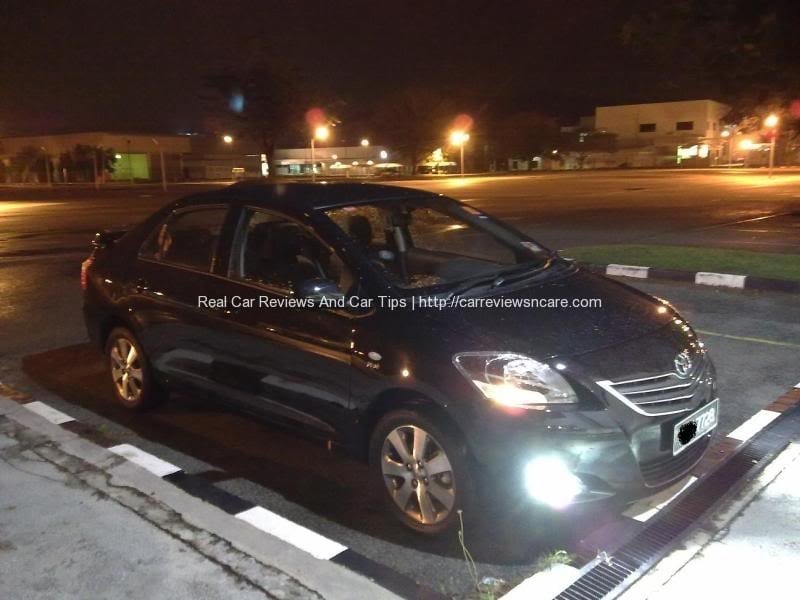
Toyota Vios 05′ 195/55/15 rims, fog lamp with HID 5000K set, and TRD spoiler.
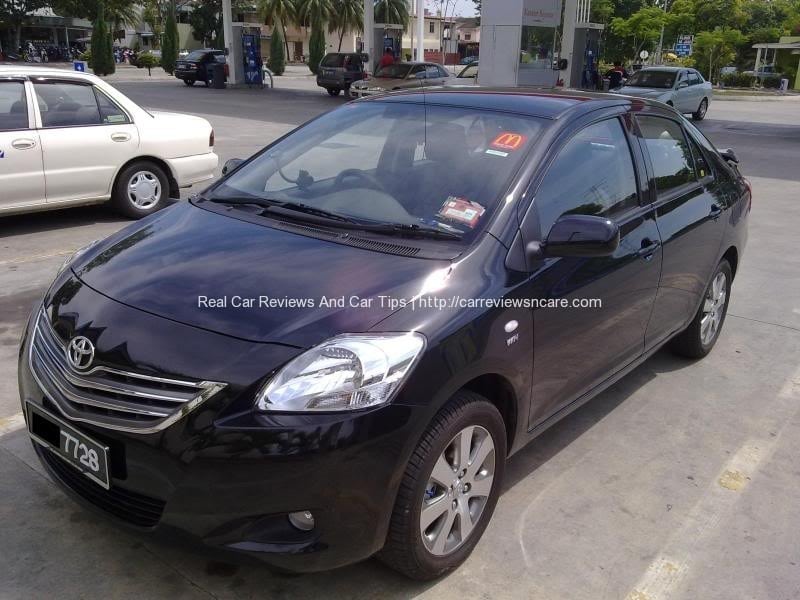
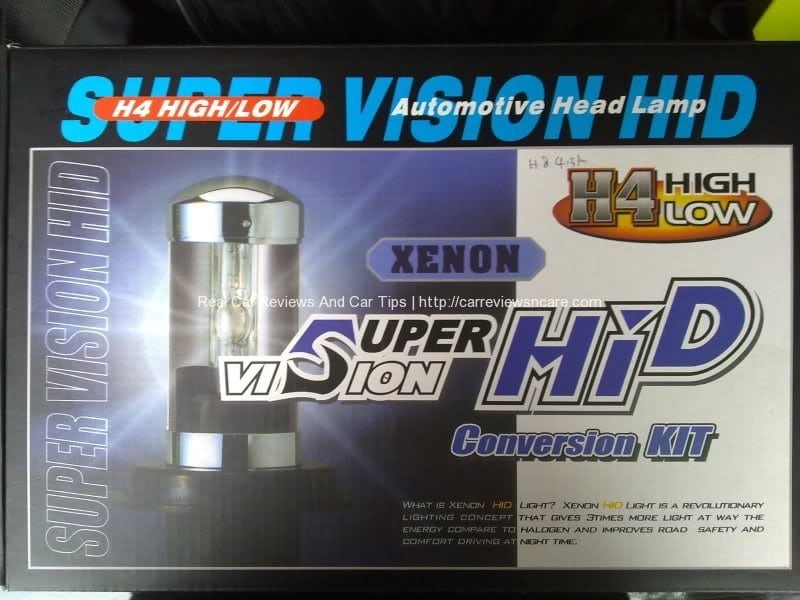
High Intensity Display (HID) kit in the fog lamp!
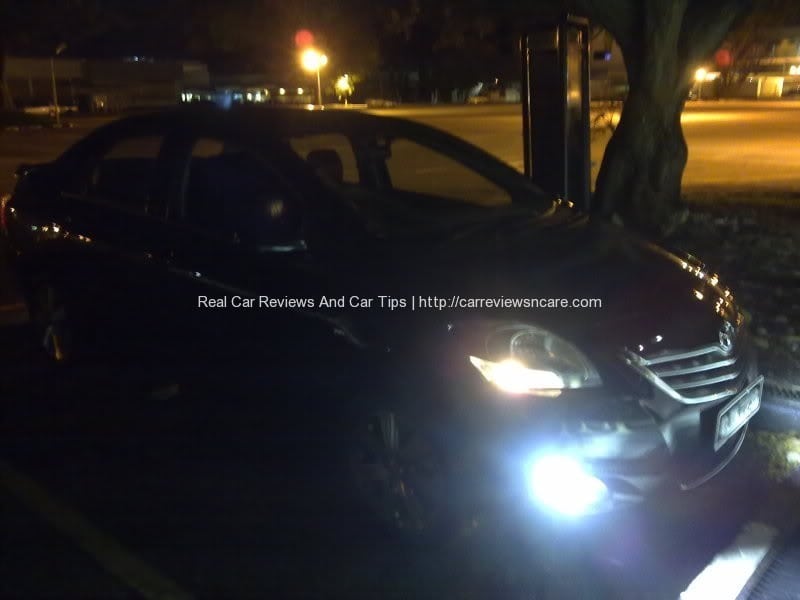
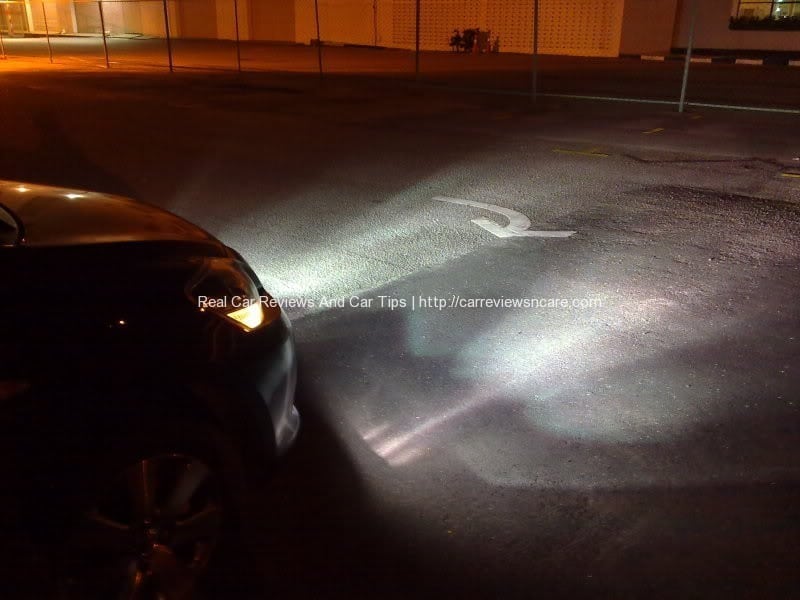
The HID fog lamps are very bright and will actually blind the opposite driver due to the light scattered around unevenly.
I’ve to adjust the fog lamp angle with screwdriver (there is a hole for adjustment at the bottom of fog lamp cover) to prevent it from blinding the opposite driver.
Then I got a new Head Unit (HU) DEH-2350UB from Brother Accessories Shop at BM too. At that moment, they were running the year end promotion for the HU. The DEH-2350UB head unit cost me RM420 with installation.
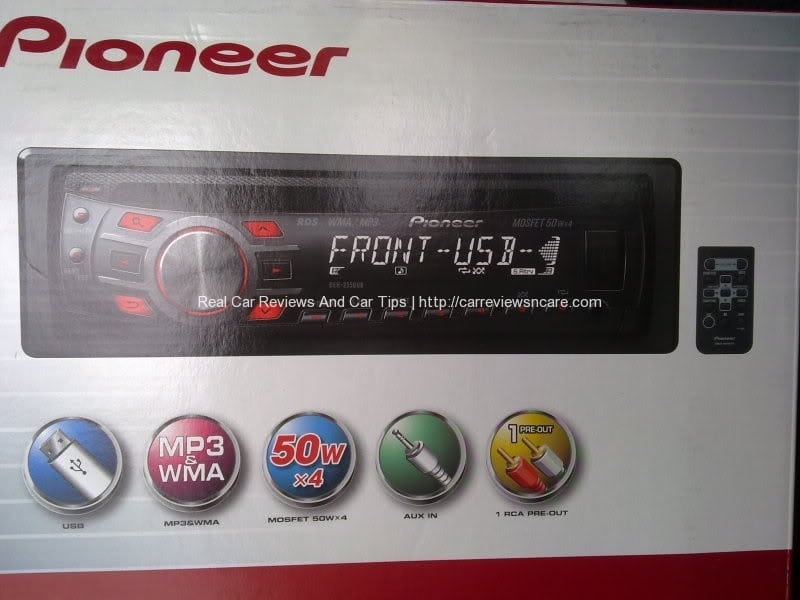
After I installed the new HU, my In-Car-Entertainment (ICE) had better sound clarity and a more powerful bass as well.
The HU is even able to display the radio channel’s name too.
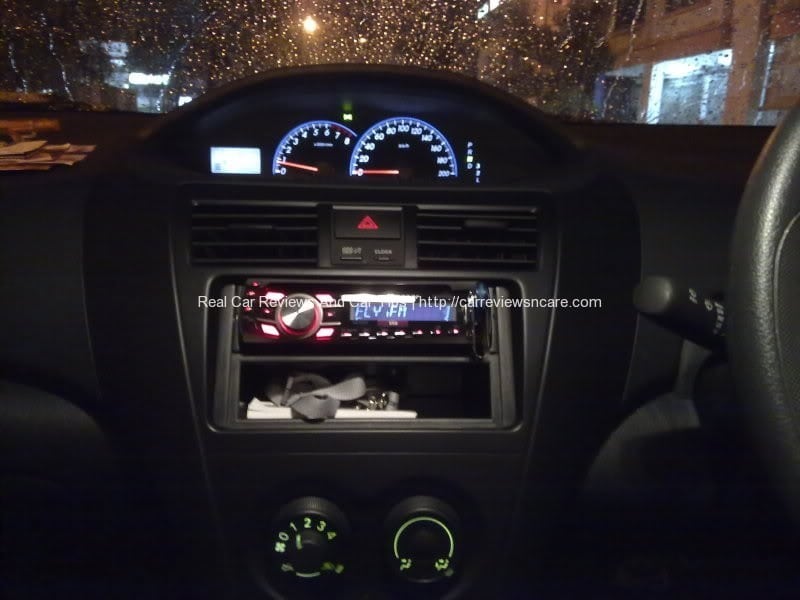
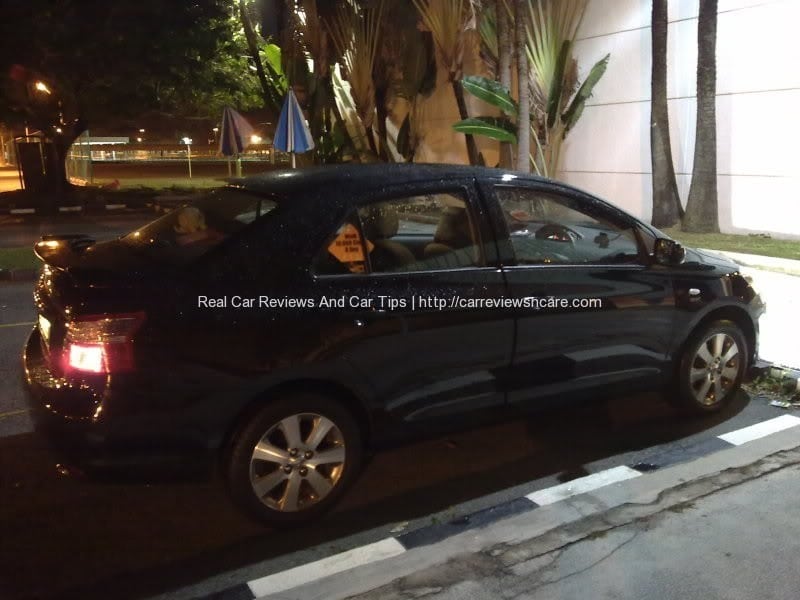
I tried to find a secondhand body kit through Toyota Vios forum and online sites. Lucky me, I found an online seller who was selling his Toyota Vios (Yaris) GT Street kit. We met up, and we closed the deal with RM400.
Below is the photo of the skirting, while I was carrying the kits inside my car, after the seller took off the body kit from his white Toyota Vios:
Well, it was white. I was a bit disappointed. Still, I proceeded to buy them as I was eager to DIY. I bought a can of coal black and 2 bottles of clear coat spray, silicon double sided tape, as well as necessary tools, which cost me around RM100. I even brought the kit to my house for the painting!
See, the skirting is in white:
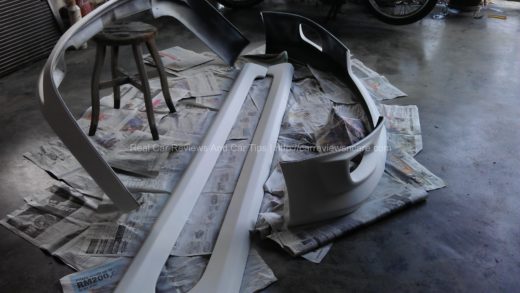
Now the car skirting is painted to BLACK color:
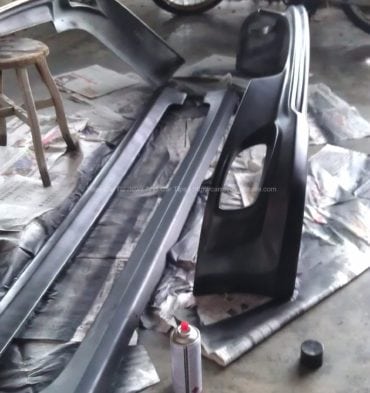
Somehow, the color did not match the original black color from Toyota Vios. Yet, I proceeded to affix and screw the GT Street skirting on my Toyota Vios, since I had nowhere to put the kit.
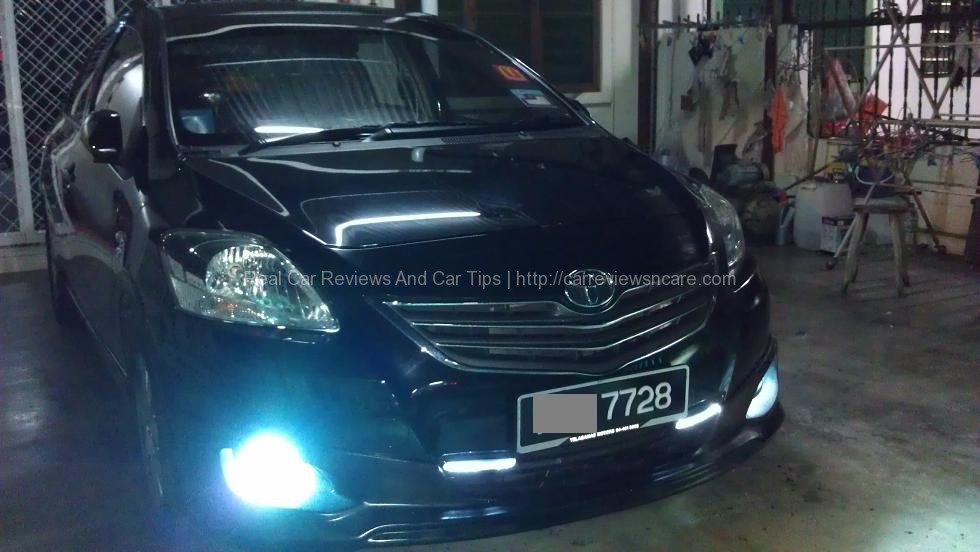
Mission accomplished! My own DIY body kit installation and painting. The DIY installation took me 1 day to complete, from morning until late evening. The whole DIY installation process was tiring because I was doing all this alone.
The worst part of this DIY installation was scraping off the tape residue left by the previous owner. The painting was time-consuming too because the base coat and clear coat had to be painted in 3 layers of each paint.
The following week, I sent my Toyota Vios to Eng Guan body Spray, near Penang Times Square for painting. The paint cost me RM350, including some minor repair on an old dent at the front bumper. The price was reasonable, and 1 day was required for the painting and drying process. Read my Toyota Vios GT Street review.

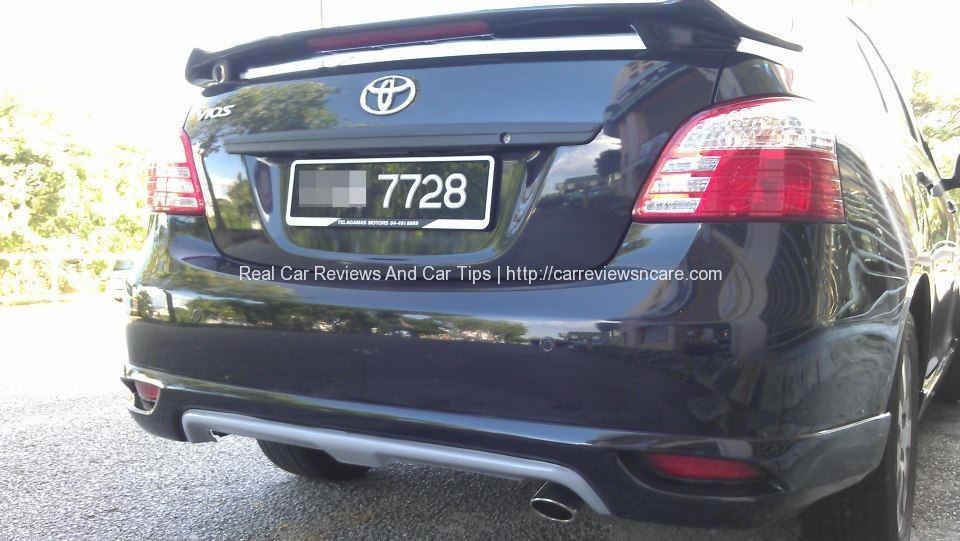
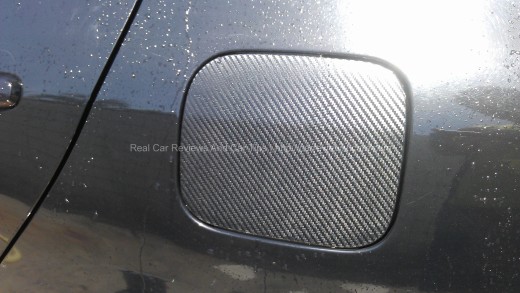
New GT street body kit painted on 26th Oct 2012 and some carbon fiber sheets do it yourself (DIY) on my ride:
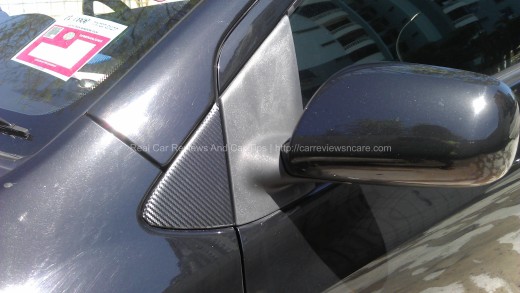
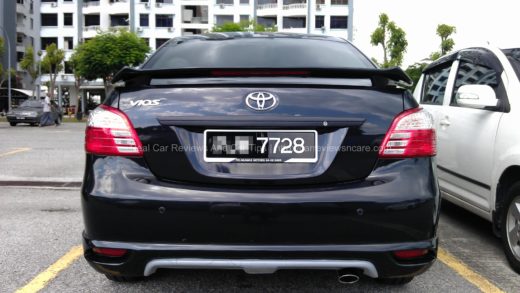
Dec 2012 – My car mileage clocked more than 43,000km and the tire thread was left only 20~30%. The tires were no longer safe to drive around. I went back to Bukit Mertajam to look for new wheels.
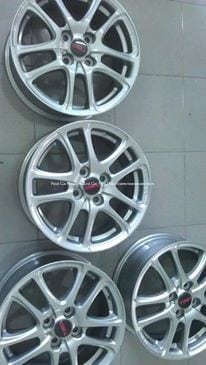
This time, I wanted to change to new rims and tires. I had surveyed a few shops for 16′ inch rims, but then I found original TRD Sportivo rims.
The original TRD Sportivo rims are 10% lighter in weight compared to normal rims and it is more rigid as well.
In fact, I found 2 shops that were selling original TRD rims. One of the shops did not want to sell the TRD Sportivo wheels to me, because the boss wanted to keep the wheels for himself. Then I went to Falken Alkana Tire Shop, and I got to change to Michelin XM2 tires with TRD Sportivo rims. The wheels cost me RM1,840 after trading in my ‘bald’ tires and old rims.
The TRD Sportivo rims were traded-in previously by a lady, who was upgrading her ride to 17′ wheels. I got the rims, and they are in excellent condition!
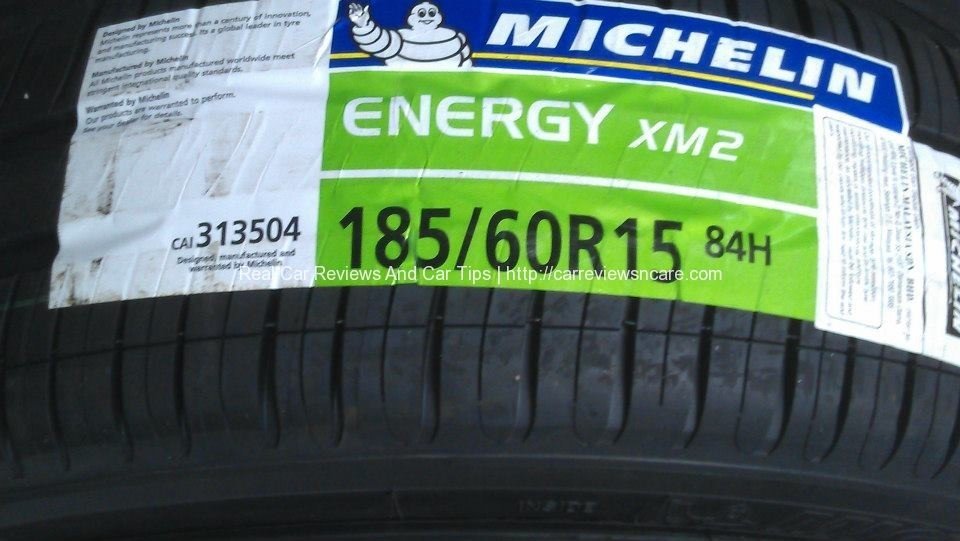
The Michelin tires priced at RM265 per tire.
Michelin XM2 tires are able to help the vehicle save fuel due to lower rolling resistance and great thread design. Michelin even stated that the rubber they are using now is more durable and lasts 20% longer due to better materials.
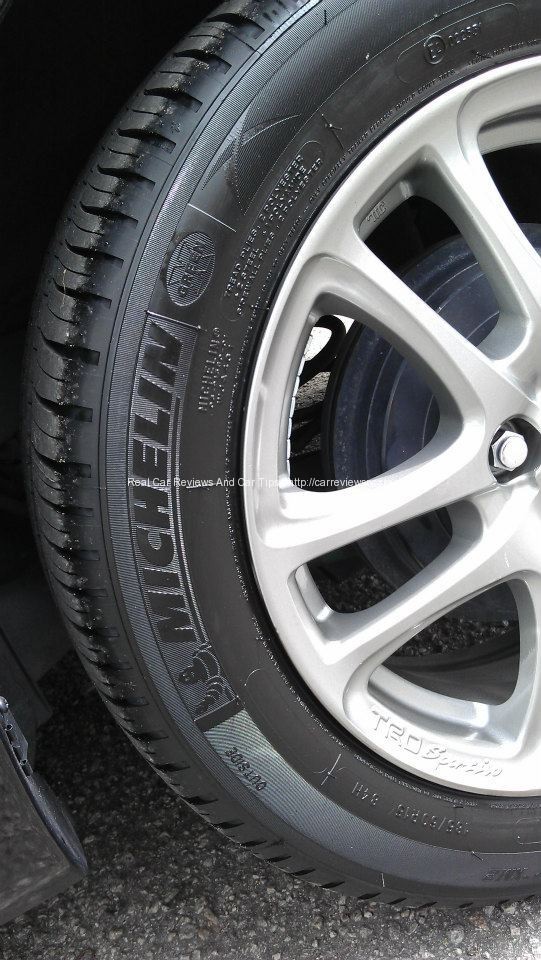
Installation of the TRD Sportivo rims and Michelin XM2 tires on Toyota Vios:
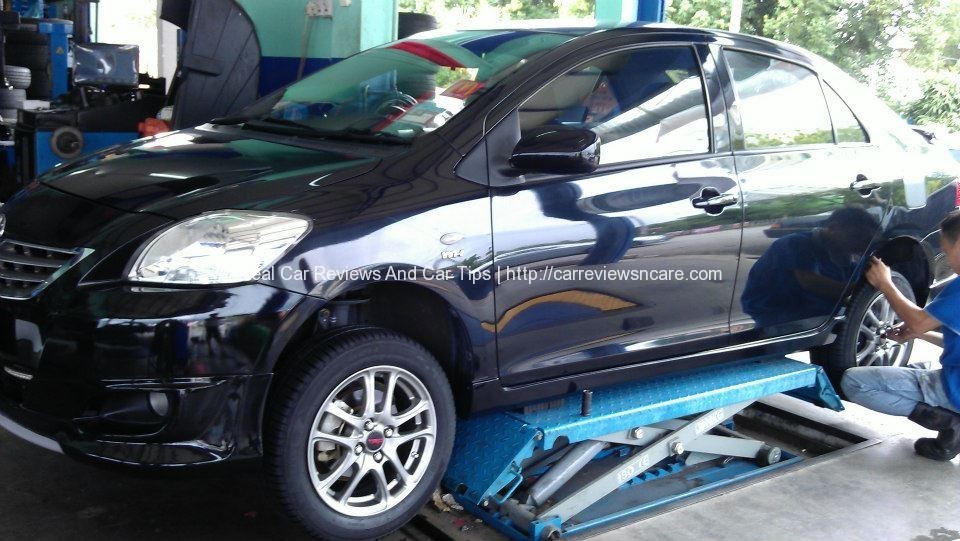

Now my GT Street Vios look sportier with the new wheels
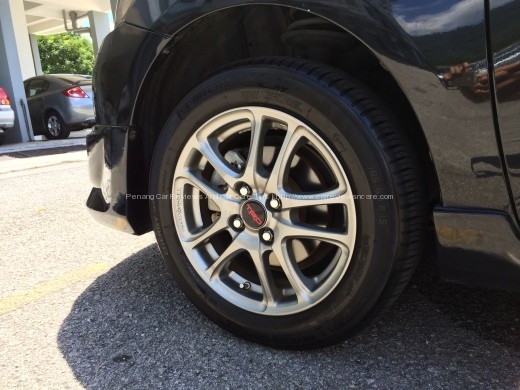
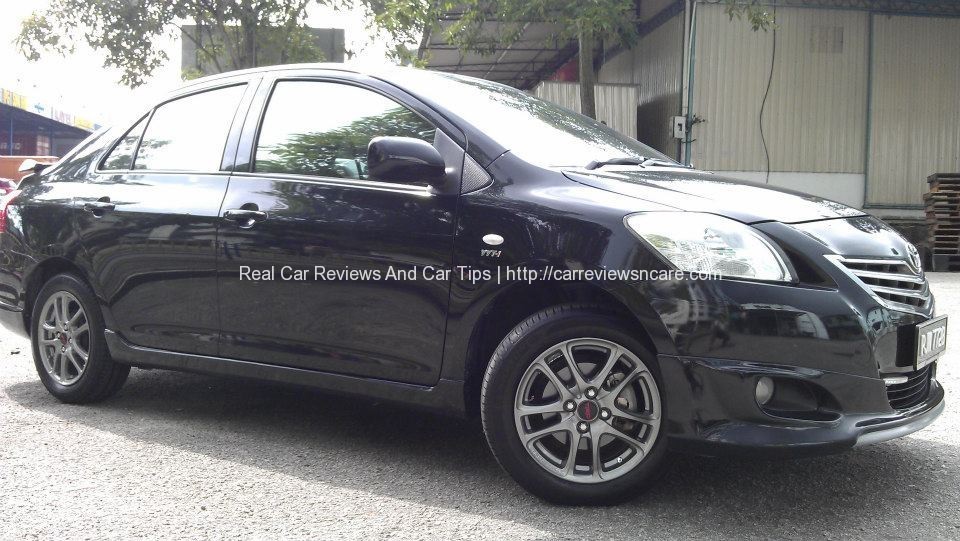
Several days later, I went for another road trip. I drove my car on North-South Highway from Penang to Taiping: I sped at 140km/h with confidence as the tire grip was awesome. The Michelin XM2 tire performance was far better than DUNLOP FORMULA 01 tires.
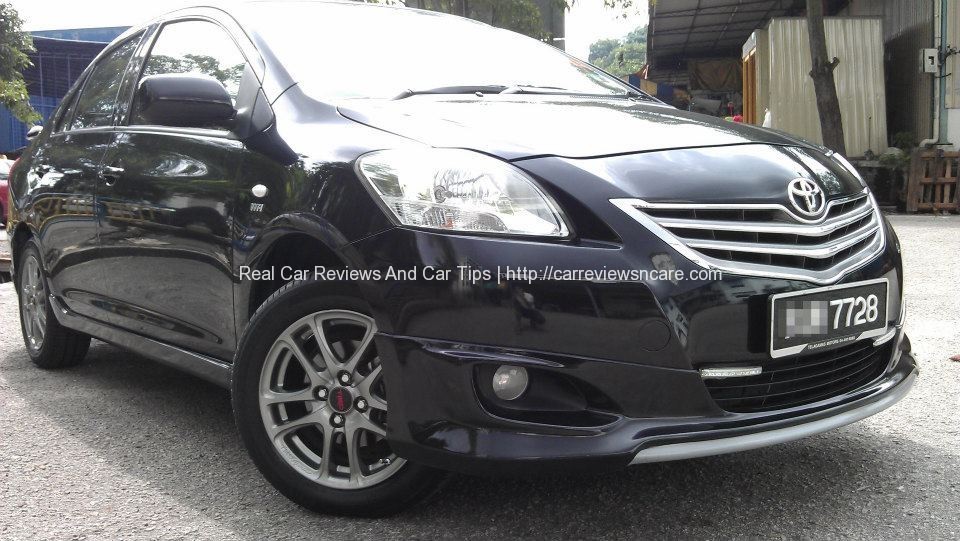
The car feels ‘lighter’ with the new tires, and I tested the new tires on wet road too. The tire grip was outstanding when I drove through the pond of water. Michelin XM2 is a tire that I highly recommended to everyone.
On March 2013, I changed to a new set of Daylight Running (DLR) Lights because the previous DLR lights (LED 灯) that I installed were broken.
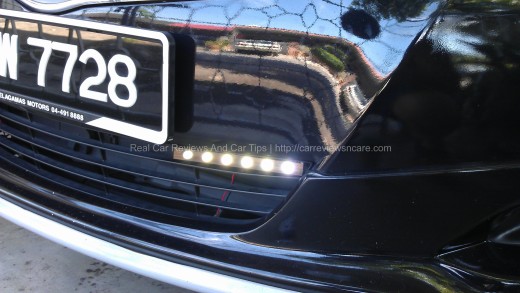
Check out how I DIY the Daylight Running Lights.
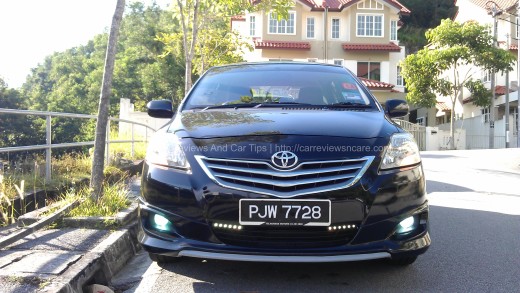
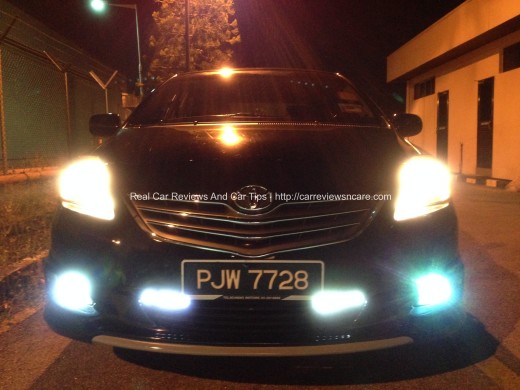
22th September 2013. I’ve done the DIY license plate white LEDs (LED 灯) too.
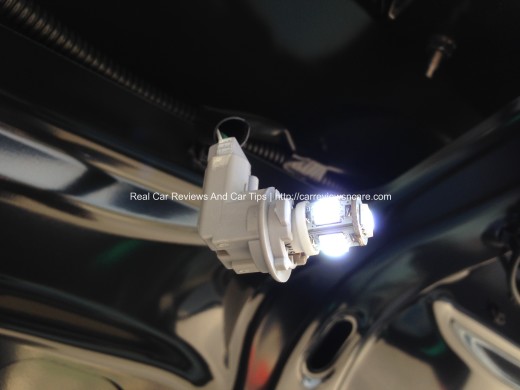
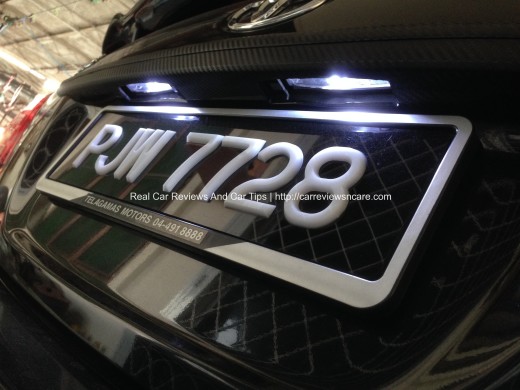
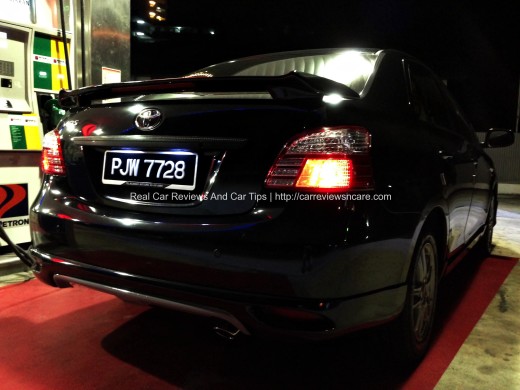
Then 12th October 2013 – I’ve installed Philips Active Subwoofer into my Toyota Vios GT Street Vios.
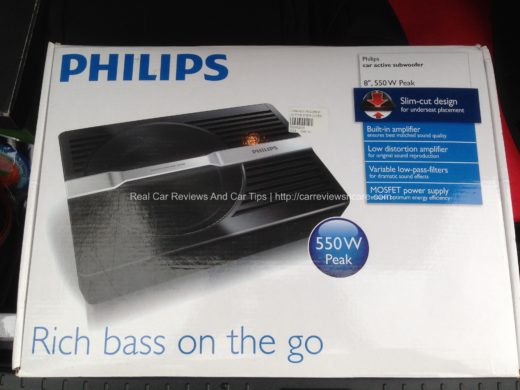
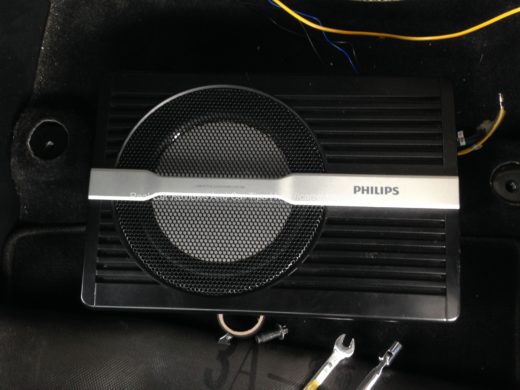
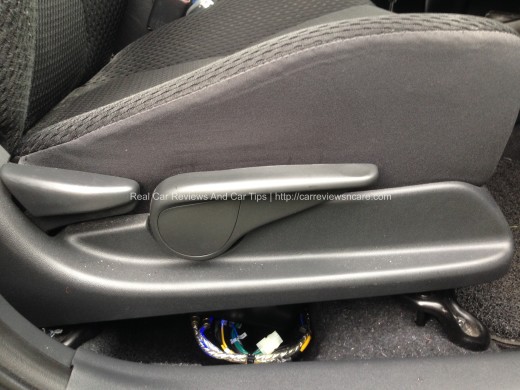
The sound system in my Toyota Vios has improved. In fact, the whole car shakes when I play the sound loud enough with strong bass effect. Read the Philips Active Subwoofer journey installation in Toyota Vios.
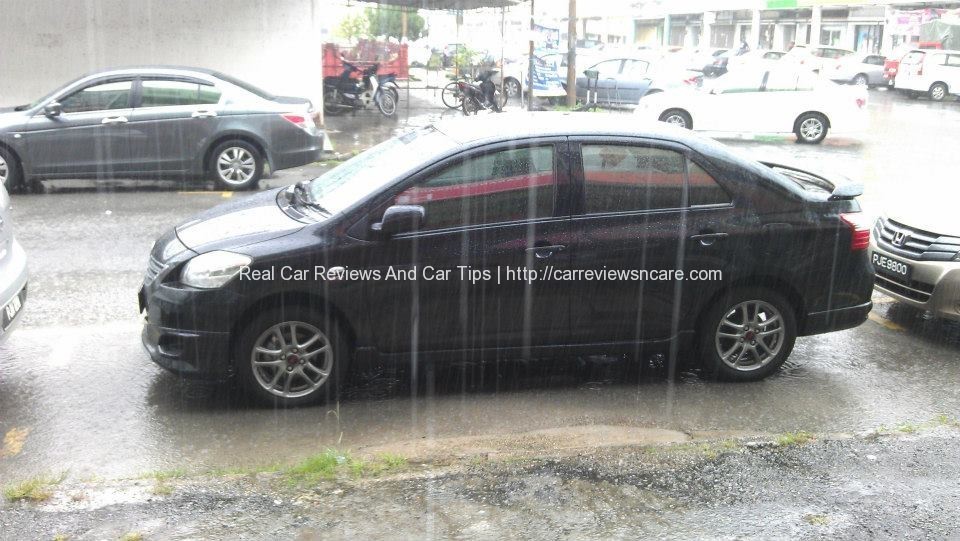
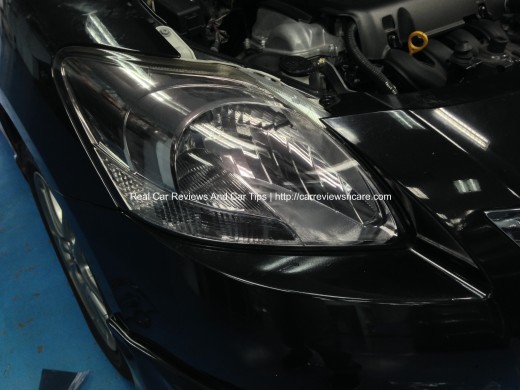
Since I bought my car 3 years ago, the Toyota Vios GT Street headlamp started to turn yellowish, and this time, I decided to affix the tint film on the Toyota Vios headlamp.
Read the Toyota Vios Headlamp Tint Guide.
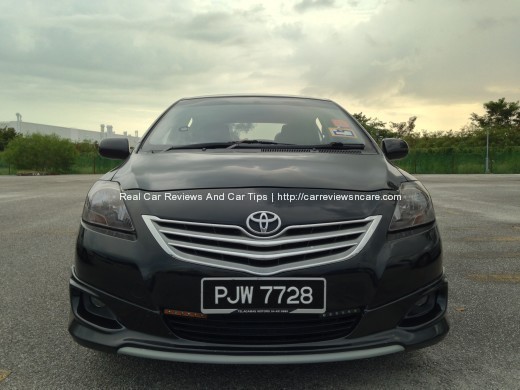
8th Jan 2014 – I bought voltage stabilizer, Pivot Raizin VS-1 for RM145 and Grounding cable HKS Mega Thick 8GA 5-Point for RM65 from an online store and performed DIY on the installation.
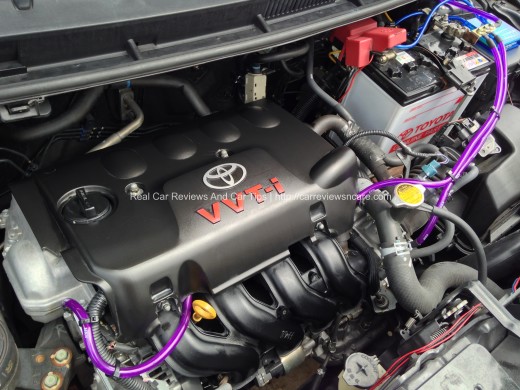
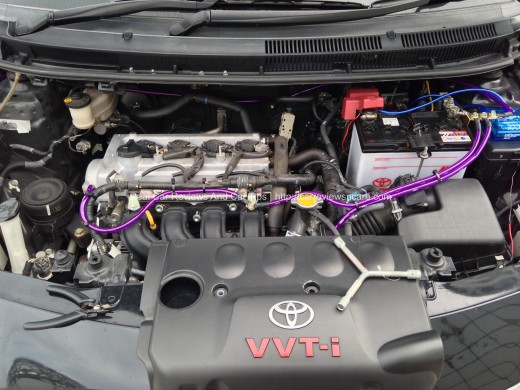
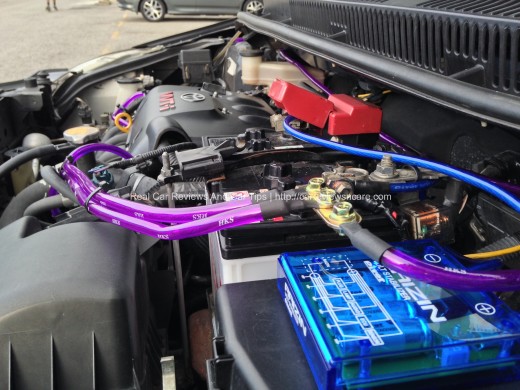
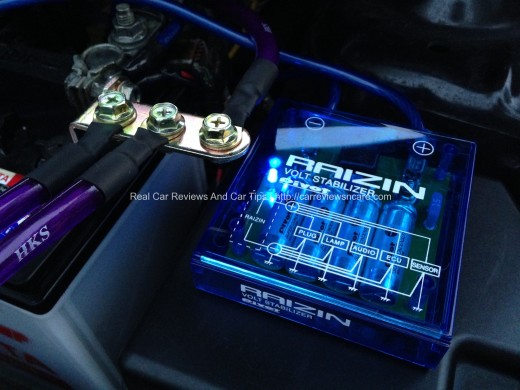
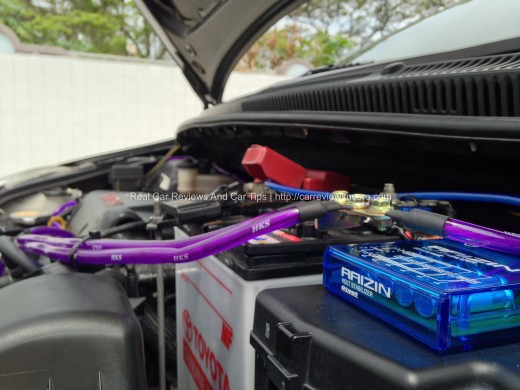
Check out how I DIY to install the voltage stabilizer Pivot Raizin VS-1 and Grounding Cable HKS Mega Thick 8GA 5-point)
17th Feb 2014 – DIY carbon fiber vinyl wrap on my Toyota Vios (Yaris) interior trim.
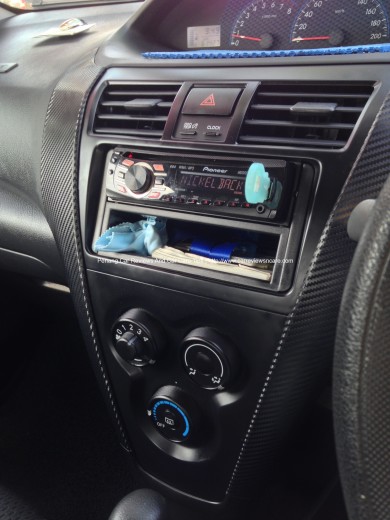
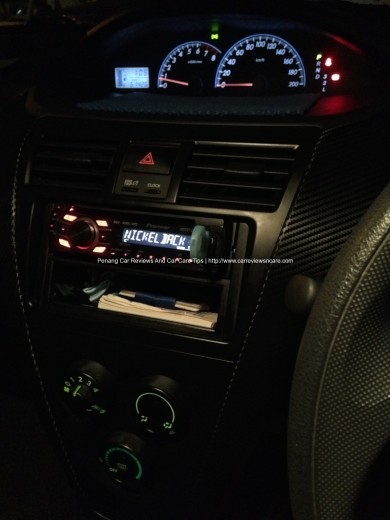
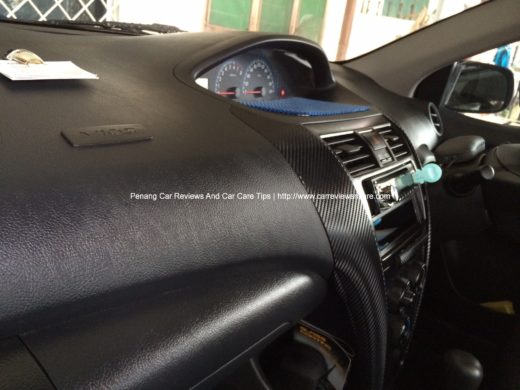
Check out how I DIY Carbon Fiber Vinyl Wrap on my interior trim.
10th Mar 2014 – I proceeded to tint the tail lamp too, since my headlamp was tinted black. My Toyota Vios (Yaris) looks better with my black tail lamp.
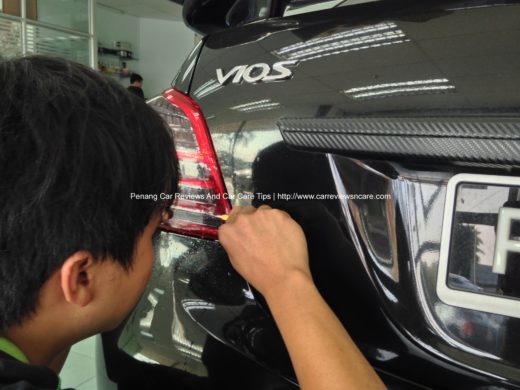
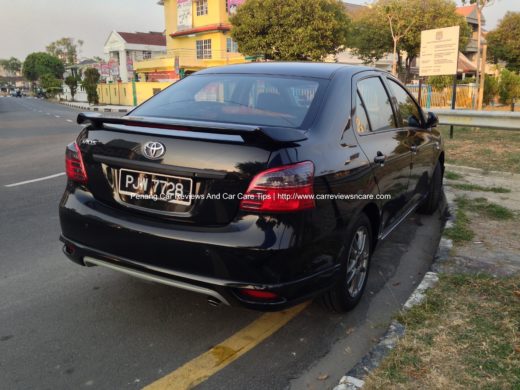
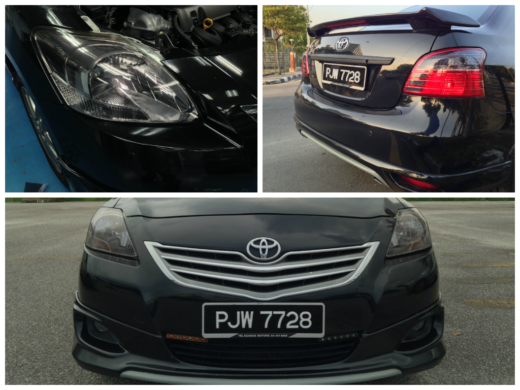
Checkout how the tail lamp tint installation done.
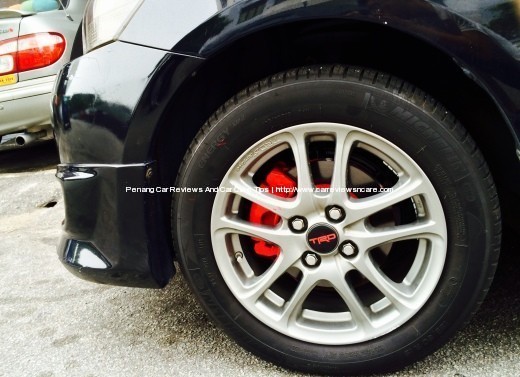
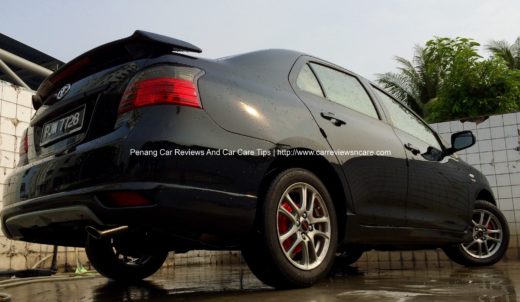
11th Oct 2014 – Painted brake calipers and drum brakes.
Check out how to Paint the Brake Calipers.
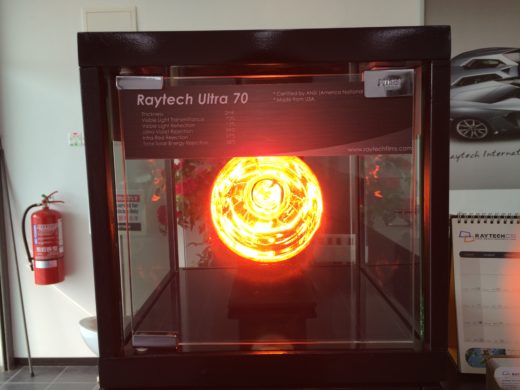
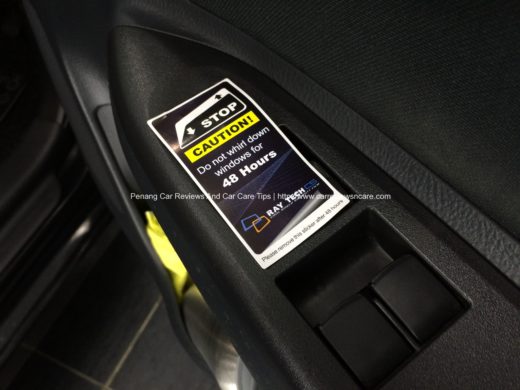
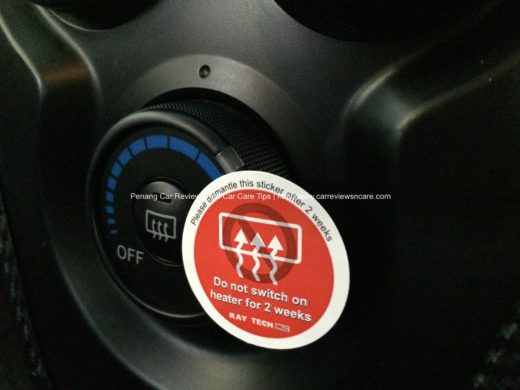
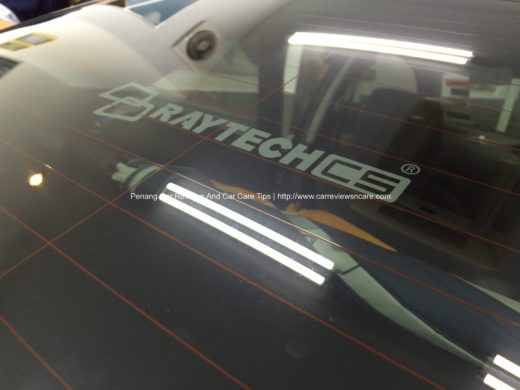
24th Jan 2015 – Raytech sponsored me their premium Raytech Ultra 70 and Centurion RX6 tint films for review 
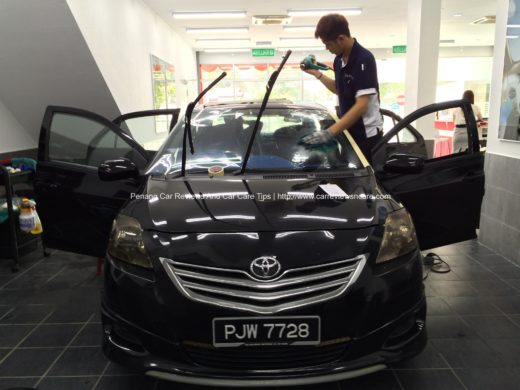
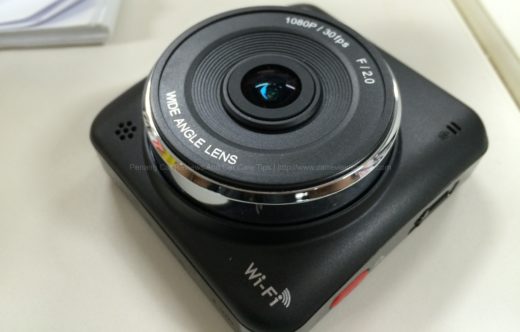
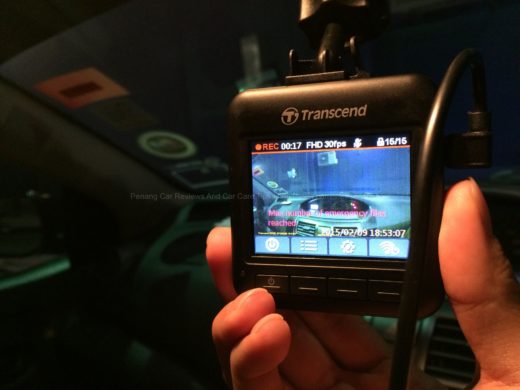
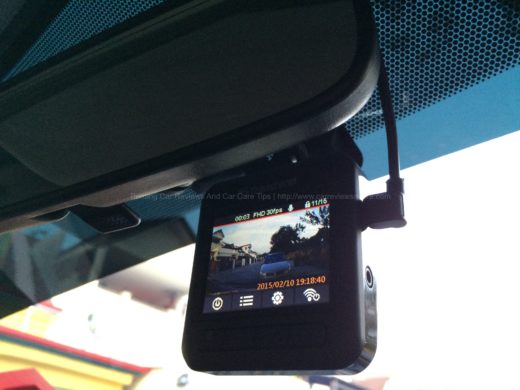
11th Feb 2015 – Received sponsor product, Transcend DrivePro 200 from Transcend to review. Learn how I DIY Installation Transcend DrivePro 200:
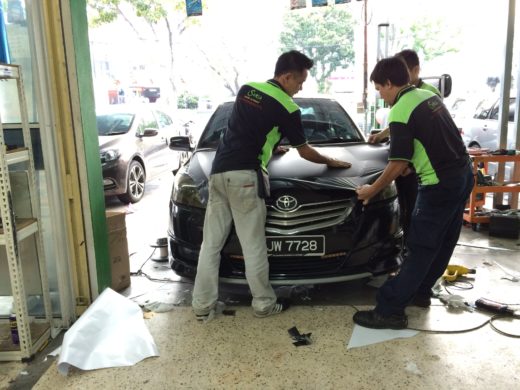
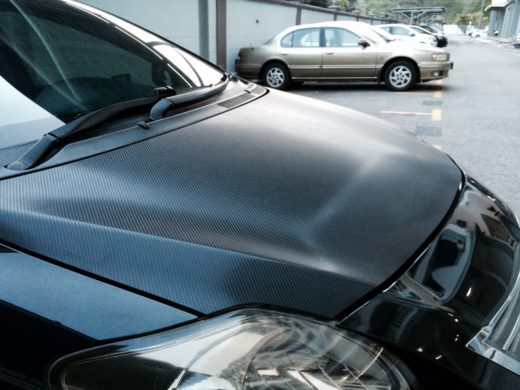
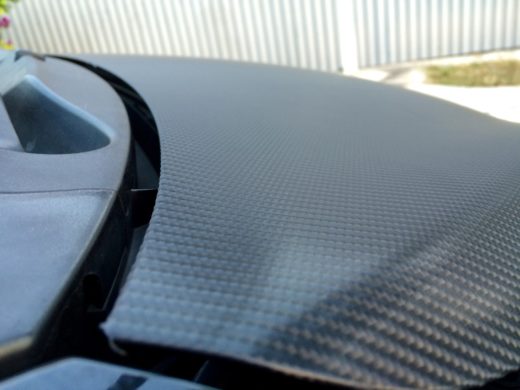
16th Feb 2015 – Carbon fiber vinyl wrap on Toyota Vios (Yaris) GT Street hood that cost me RM90 after I negotiated with the shop owner:
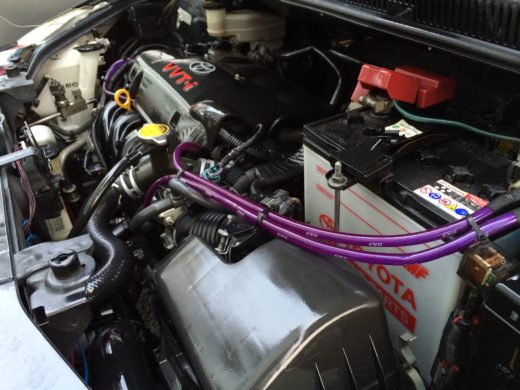
31st Aug 2015 – Engine detailing with ArmorAll Tyre Foam
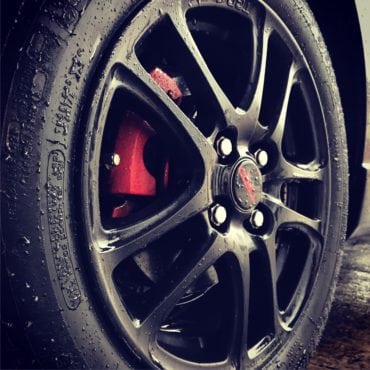
12th Jan 2016 – Changed new Michelin tires and coated wheels with black rubber paint!
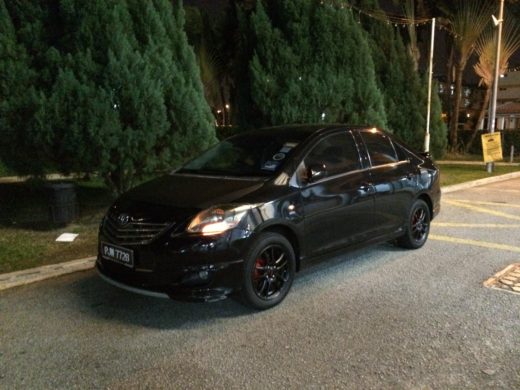
15th Apr 2-18 – 2 years after came back from Singapore, and decided to upgrade the halogen headlamp to 6000K LED headlamp and parking lamp:
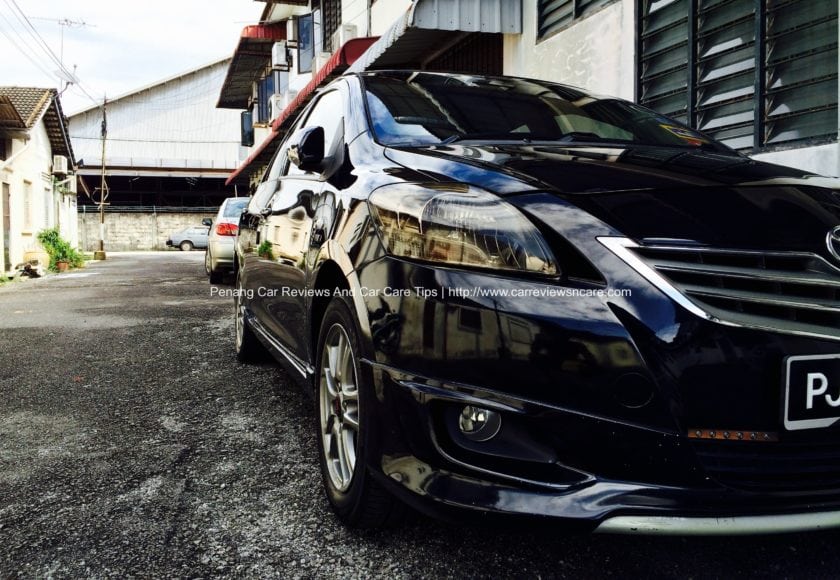
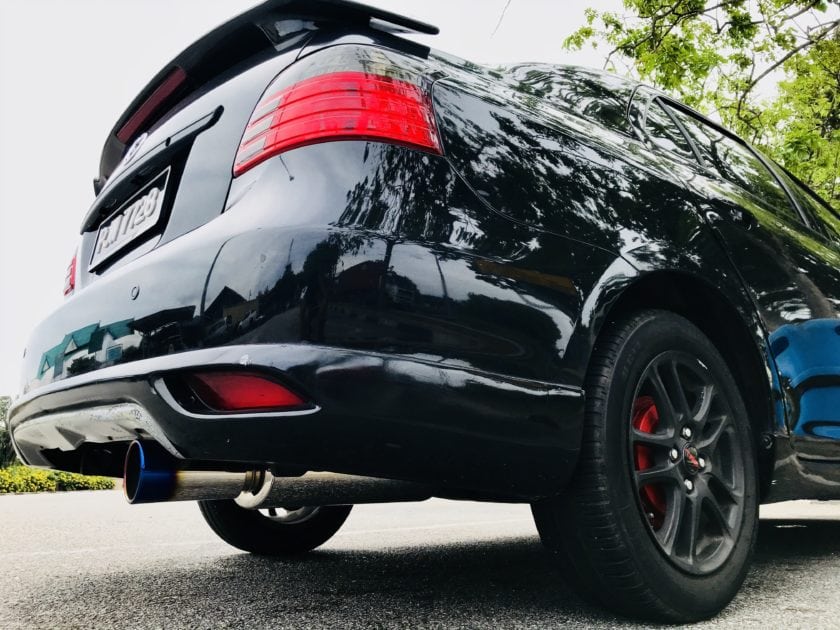
30th May 2018 – HKS muffler upgraded. Performance increased and “Vroom” noise toO!
Full story at upgraded to HKS muffler: http://www.carreviewsncare.com/hks-exhaust-tail-pipe-upgrade-procedures-complete-guide/
I hope you guys are enjoying reading this post. Don’t forget to drop by and say ‘Hi’ to me on the comment section.
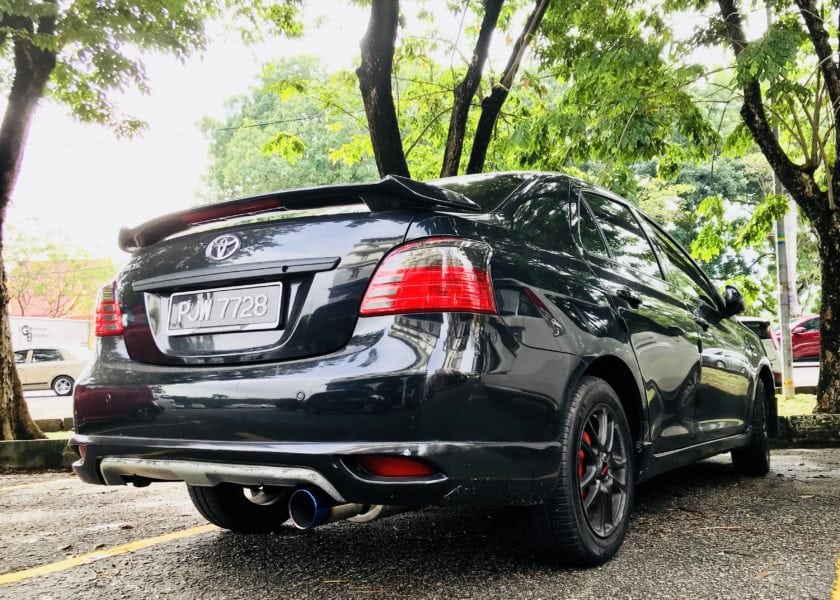
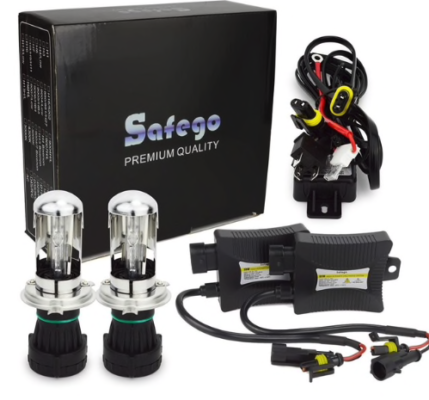
On 3rd Oct 2018 – I’ve convert my halogen lamp to HID (Bi-Xenon) Lamps . Checkout how I DIY to convert my conventional halogen headlamp to HID headlamp at below:
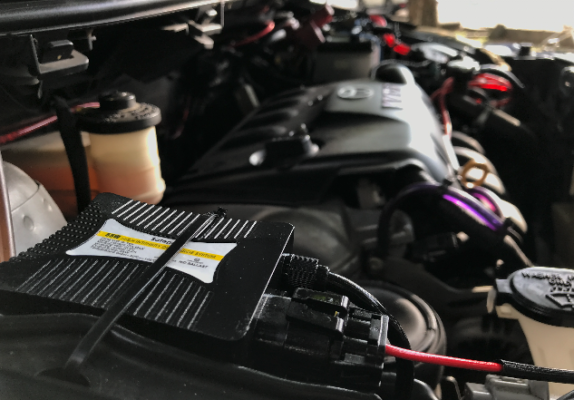
If your engine bay looks boring, then considering give a paint with high temperature paint:
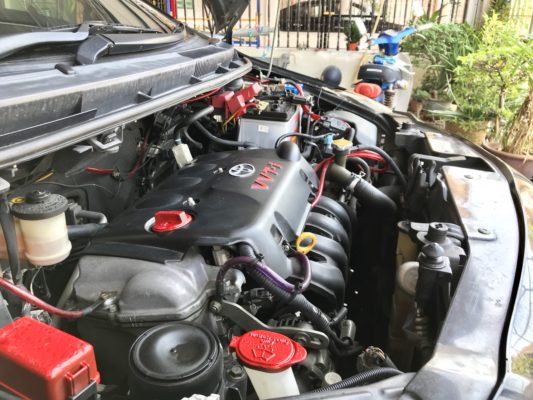
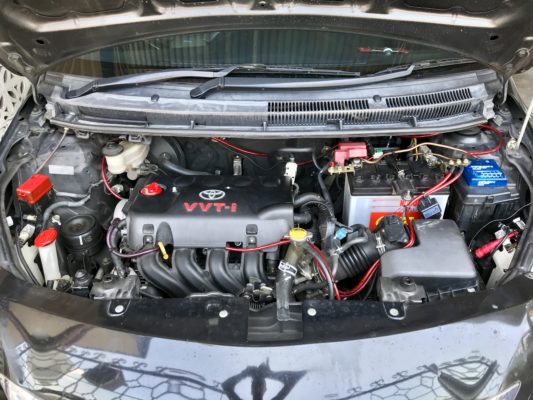
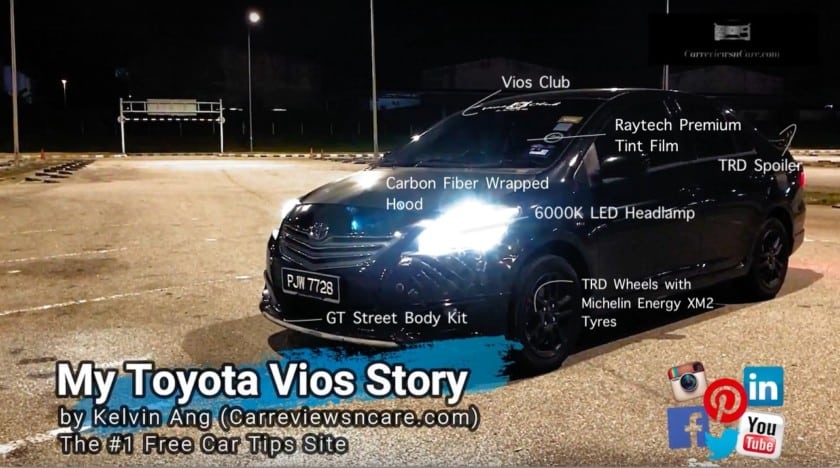

And please support me by give me “LIKE” and “SHARE” this post with someone who loves their cars too
If you have car, please share your best looking car photos to us too!
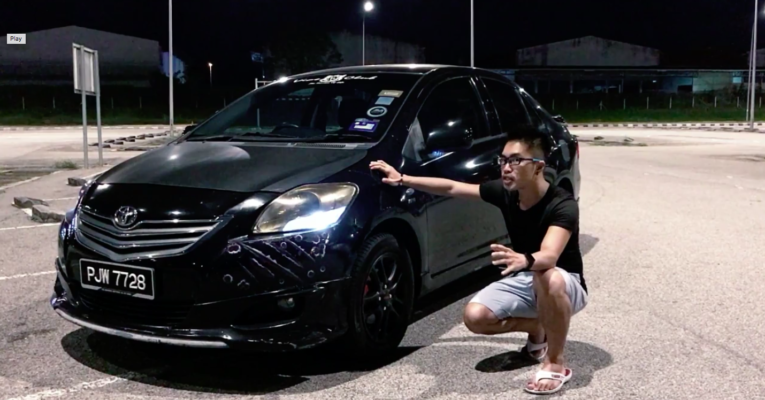
 https://partners.uber.com/join/?invite_code=hdjdu9p38 #uber #uberdriver #uberlife #penang #penangairport #airport #iphonography #jj #blackandwhite #lifestyle #parttimejob #vios #road #streetphotography #street #building #blackcar #blackwheels #uberx #penanguber #uberpenang
hi..i want to ask just one question. Whats engine oil are you using for your vios? thanks..
usually I am just using any semi-synthetic engine oil (30W-40) that I can get it cheap in any Tesco
Hi
I am searching for vios 2010 windows protector?where can i get it?actually want buy via online so vil be helpfull if u tell me the website.
Hi Kanna,
I don’t really get it? Are you mean window tint film?
Kelvin, know how to mod Toyota Unser LGX last batch?
Hi Nic,
thanks for drop by in commenting section.
There are variety ways to modify Toyota Unser, you may go to these shops that custom made body kit.
These people can give you variety of suggestions, happy modify
just ask! I will tell you whatever I know
Hey Kelvin, do you need to change the OEM speakers when you change the radio head unit? I am thinking of change my head unit but I am not familiar with the price.
Hey Wayne,
thanks for drop by, I only changed my radio head unit.
I am still using my OEM speakers until now, even though the OEM speakers performance already degraded.
I would advise you to start upgrade the radio head unit first, then only upgrade your speakers to fit to your expectation.
Happy modding
btw, do you still keep your OEM radio HU? I heard rumors saying modded cars have less resale value as compared to the original unmodded cars. Is that true?
Hi Wayne,
thanks for drop by.
It depend who the buyer are, some buyers who prefer the modded car would willing to pay for higher price while some the other buyers who prefer original parts in the car.
After all, the buyers just looking for excuses to bargain for more…
I sold my OEM radio HU long time ago
This is so awesome! I have too many questions to ask you.
Hi Kelvin,
Juz nk dpt review ckit.. Skrang ni sy pkai tayar 195/50/R16, pastu trfkr ni tukar ke 205/45/R16 @ 205/50/R16.. Rse2 ok tk?? n tayar ap yg best??
Thank you in advance.
P/s : im using 1st gen
Hi Ezzudin,
yea! your tires cost will be higher!haha
You will feel your car lesser power after upgraded to bigger tires, but compensate with more stable ride especially on higher speed…
Bigger wheels will have noisier ride as well, which I don’t feel like to have it…
So it is a give and take, bro!
Hi Kelvin
Im using 2007 vios Gspec scond hand. The car seem to veer left and right,floating and unstable at 100 ~120km/h.Do you have any suggestion for this problem ?. im using 195/55R15 YOKOHAMA S.sport with TRD sportivo rim.
Hi Azam,
that shouldn’t happen, maybe you should try to get your car for balancing and alignment.
if that doesn’t help, then it must be your tires not doing its job good enough.
Last time I am using the Dunlop Formula 01 tires, where I feel floating with my car at speed 100km/h+, then I change my tires to Michelin XM2 and the floating only started to feel at 140km/h+
hope my experiences helped you
Wah…terbaik la…sy pon pakai Toyota Vios J spec (M)…buat slow2…kita buat sendri br puas hati…
Hi Ecad,
That is very true! We only get the maximum satisfaction if we done it by ourselves
Good Job,
You should be install oil catch tank too.
Hi Jiunn Wei,
Any brand recommendation for oil catch tank ?
Hi Jiun Wei,
nice to see you here.
Is there any performance upgraded after you had installed the oil catch tank?
Hi Kelvin, i am shocs. Nice to read your Vios journey from original version to your current state. I owned 2013 ( the last version of vios ) before the new total changed version. I am always thinking about how to reduce the weight of vios, to make it more good saving on fuel consumption. I installed the QMax voltage stabilizer ( NOT DIY ). And right now think of : the crank pulley and also the rim : Enkei RPF1 which I did my own search both are lighters in weight reduction. For tyre, I am still using the Bridgestone RPE001, which was reliable but quite noisy. Any comment or advise which you can share with.
Hi Shocs,
nice to see you here and thanks for drop by.
From my personal perspective, I don’t think you should try to reduce the weight of the original Toyota Vios. Whatever parts inside the car is already light enough.
The cost that you going to spend to reduce the car weight is would be much more than the fuel that you can save from the weight reduction cost.
Keeping the wheels size to 15 inch, and regularly maintenance the car would optimize the fuel efficiency of the car.
During driving, keep the car RPM low all the times, accelerate slowly and avoid the heavy traffics on the road will give you a great fuel efficiency result.
Hope to see you around again, Shocs
Hi Kelvin,
Thanks a lot for your kind advise. Your current tyre brand is Michelin XM2 ?
Yea, I am still using Michelin XM2.
The tires gripping is awesome, but the tires started to become noisier after 25,000KM.
Hi Kelvin,
may i know what use is for the Voltage Stabilizer Piviot Raizin VS-1 and Grounding Cable HKS Mega Thick 8GA 5-Point?
when u change to 16 inch will delay the acceleration?
Hi Nichals,
thanks for drop by.
That voltage stabilizer and with grounding cables merely serve nothing but as cosmetic enhancement on my car’s engine bay only.
I never tried 16 inch wheels on my car but from 14″ to 15″, I can feel the differences. The car is less powerful but more stable on the road during high speed.
Hope my explanation helped you.
Hi Azim, sorry that I was missed out your comment earlier.
The carbon fiber paper can be bought at any auto accessories shop or even DIY shop, and yea I put it myself
thank you Lee Chet!
hope to see you around again
Nice DIY (y).
Great jobs
Hye! Sweet ride! Love those modifications. Anyway, I am wondering where I can get those carbon fiber covers in Klang Valley and did you put them by yourself?
Hey Azim!
thanks for drop by!
Yea, I did put all those carbon fiber stickers on my car by myself.
You can get those carbon fiber stickers at any Auto Accessories Shops around your area
nice work
Thanks Paulo! Hope to see you around again
Hi Wayne!
Thanks for the drop by! Let's me know if you have any query about your Vios J
See you around again soon!
Nice, I enjoy reading your story. Especially the modifications of your car. Great job, great car, great looks. Keep it up. I have a Vios J as well. =)
Thanks! hope to see you around again
nice…
oh well, u prolly right…. i set to find vios limited edition g spec rims. u sud give rawang a visit. the rim they sold me 600. xm2 is 200rm each.
i found the first trd rim in klang for 500 but mine dont even hv a single trd stuff on my car. just think its weird.
Wow, you get the Michelin XM2 at very cheap price!
Haha, I would suggest you to take the TRD rims since the rims are build for performance ride. The rims will be lighter and tougher too, moreover it is cheaper by RM100…
You can always take off the TRD caps on the rims if you think its look weird on your car.
Rawang selling auto stuffs so cheap! I am going to visit there when my tires worn out.
I got my energy xm2 for 190 per tyre. Hehe. Can you elaborate more on the TRD rims? Thinking of getting it. 600 for all 4 or per rim? Btw, any link or brochure to research on about the TRD rims?
You get your XM2 tyres at such a low price!
I don’t have link that related about the TRD rims but I’ve read somewhere about TRD stuffs..
The TRD rim is lightweight alloy rims that has being reinforced its strength and rigidness.
You can learn more about alloy wheels and steel wheels at here: http://www.carreviewsncare.com/factory-oem-vs-replica-wheels-myths-and-facts/
hi, my name is kelwin… difference of v and w. haha. i think u made a smart move by using original 15″ rims… 2yrs ago, i bought 17″ rim fitted with 205/45/R17 falken tyres. well, the ride was good n firm but 1 thing i couldnt stand. bumpy ride. i talked to few tyre shops and they say nothing could be done at this point of time but to change to 15″ rims. is it true? would changing aborsober helps? also, i wondered if dunlop tyre that u used, is it confortable? i suppose michelin sud perform better in this area. well, what do u think?
Hi Kelwin,
nice to meet you… yea, we have the almost same name
3 years back I was thinking to change to 17 inch wheels too, since its looks cool on our ride but after a deep thought then I am still stick back to 15 inch due to higher cost of bigger tires, higher fuel consumption, less responsive drive, less power and more bumpy ride.
The reason why the 17 inch wheels are more bumpy ride comparative to 15 inch wheels are due to its wider tires (205mm instead of 185mm) contact on the road surface. Moreover bigger wheels, mean lower profile tires (45mm instead of 60mm) have less cushion, that lead to more impact and vibration to the car.
I believe changing absorbers might not helping because most of the after market absorber and suspensions setting selling in the market are more rigid than our original Toyota Vios setting, which will lead more bumpy ride.
For the tires wise, I would said that Michelin tires have better gripping compared to the Dunlop tires that I used.
Still the most cost effective way is stick back to 15 inch wheels for less bumpy ride.
Cheers Kelwin
Hi kelvin, awesome people you are. you created a Very kind and polite blog environment. Enjoy reading your blog here, I was just test drive the all new city v spec and vios g spec yesterday .I find that city is have much more sportier exterior and interior than vios, and also more features such as hill assist and vsa. But city have no acceleration power as vios,vios is more powerful with the twin cam compared to city single cam I guess. So I’m so confuse which car should I buy. And wondering will vios come out some limited edition to compete with all new city? Like camry now is launching a spec call camry 2.0gx by added some features. Not sure will it happen to vios or not?! What’s your Opinion ?
Hello Terence!
Thanks for drop by and your awesome compliment! haha
hope you spread the blog to your friends who driving too.
OK, here how I think about the Honda City and Toyota Vios.
All these years since 1st generation of City, the car already looks sportier compared to Vios even until today.
Vios was powerful at early torque, while city getting powerful after end torque. It was the characteristic of the i-VTEC engine that allow the both valves operate at high engine speed. This feature is to save fuel for the car.
I have yet to test the new Honda City, but I’ve test the TOyota VIos. The new honda CIty seem come with a lot awesome features (6 airbags, rear air con, so many sockets, hill assist, auto stop signal) some more with CVT transmission that act like virtual transmission.
I doubt even Toyota VIos come with new facelift in near future, it won’t have that much features as City. Somemore VIos still using the same old engine and transmission. The only advantage is the great realiability of the engine and transmission. Not much new features except the projector headlamp.
If I am in your shoes, I would take Honda City unless you are those heavy footer who wan race and accelerate most of the time, then you take Toyota Vios.
CVT transmission from Honda City is not build for harsh driving
I hope that I has helped you.
Let me know if you want to know more, I am happy to discuss with you
After u change rim 15 tyre 195/55/15.. no more floating ?
Hello Ann,
Yea, after i changed to Michelin XM2 tires with 185/65/15, there will be no more floating.Steering was heavier and driving on highway was more confident too.
The car grip well on the road even at 150km/h.
But the drawback is the XM 2 tires getting noisier after 15,000km on the road…
Overall, the tires is great.
I read about your Voltage Stabilizer thingyy. I would like to know your driving experience before and after your installation. Is there real improvement?
Bello AL,
thanks for drop by! I being using the PIVOT voltage stabilizer for almost a month. To be honest, I merely feel any different at all. No additional torque, fuel consumption remains the same, headlamp brightness remain the same.
The only difference is I feel there is static shock around the car body especially during driving in the morning. I suspected the capacitor discharge the leftover static. Then, I re-aligned the grounding cable to somewhere else instead of connecting to the car body.
Hi Izzuddin, thanks for drop by and comment! I am glad my page helped you in transforming your vios to a better car

hope to see you around again, let me know if you have queries on those modification
Hi, thanks for sharing the info. I really enjoy reading it..
My car is vios e standard..still thinking which I should go 1st..when I see your page, its really help me a lot..
TQVM kelvin..
Hi Kelvin,
Came across your site while surfing.
Good content, very informative. I’m using a Toyota Wish currently.
Previous cars: Fiat 600, Ford Escort, Kia Spectra. On weekends I
Use my Myvi – good car, but got rattling sound from dashboard and door. Car only 1 year old. Very disappointed. My Toyota Wish is now 6 years old and still no rattling sound.
Btw I’m from SG.
Hope to meet up with you one day.
Adios !
Morning Jamil,
thanks for drop by to comment in my site
Yea, I couldn’t agree more that Toyota vehicle do really free of problem. I’ve yet encountered any defect from my Toyota Vios part.
Everything seem good, and I am proud to own it.
Sure, I hope we can meet you someday.
Have a great day to you!
Your car plate was not mosaiced in some photos. Forget?
Haha,
not forget, I just lazy to mosaic it….
thanks for drop by
Do let me know if you want know more, I would love to share more to you bro
Hi Iskandar, thanks for drop by
I think Seberang Perai has limited shop. I would suggest you take a short ride to Bukit Mertajam, Brothers Accessories shop or 99 Accessories shop. The price are reasonable and more choices too. Avoid going to Aun Accessories shop as workmanship is poor and the parts are expensive too.
hi thanks for the info and I am enjoy reading the diy upgrades, am using as well Vios E trying to find body kit around seberang perai and wanted to upgrade my car seat to a better comfort any suggestion that I can go?
Hi Irwan,
thanks for drop by and write to us
my black vios has a lot of swirl marks too, it seem the only to remove the swirl marks is to polish it. The Get1 is polish kit.
another problem i found about black car is the color will fade quite fast if we constantly park under hot sun…
Yup, the paint imo is kinda lousy and did informed one of the service guy at toyota about it. I did mentioned to him how come my previous six years old black hyundai getz paint was better than my year old vios. He just nodded his head and mentioned that toyota uses an environment friendly paint hence the easily get swirl/faded/etc effects. *shrug*
haha, it was sad to hear that. This is my first car, so I am not able to compare. Other than polishing, I believe external coating may help on this since coating is on top of the car paint which prevent those marking on the car paint.
Hi Kelvin,
I’m trying to look for lower chrome grill (place where you install your daylight running light). It will be great if you are interested to share info of where to buy it.
Hi Fazly,
I am not sure where to buy the lower chrome grill. Maybe you can paint the chrome by yourself
Hi bro, enjoy reading all your diy upgrades Am driving a black vios j myself (2012 ver). Its been a year now, and found that my car paintjob too easily get swirling marks most probably due to all the wipes from washing. Any recommendation to remedy it? Whats the Get1 for?
Hi Irwan,
my black vios has a lot of swirl marks too, it seem the only to remove it is to polish it…
Share your opinion what you think about my Vios
hai, nice reading your passion over your ride. I do not own toyota vios but proton persona Sv-At which is opposite to your vios in terms of weight .. haha .. heavy as a cow but it does runs perfectly fine in high speed.
if you tends to improve handling, I can recommend you ultraRacing bar for better respond. Personally, front engine strut bar and rear anti roll will do the job.
btw, still saving money for lighter wheels ~haha.. Happy riding ^^ and happy cny as well.
Hi Chu,
Thanks for dropped by! Proton Persona isn’t that bad… haha
Yea, I do ever consider Ultra Racing bars before but I guess I would likely to change the suspension setting to more rigid. It would be helping more before installing the strut bars
Cool, show me your ride once your changed your wheels
Happy riding and CNY to you too!