A high-quality ceramic coating can keep your car, truck, or SUV looking clean and protected from exposure to the elements. But with so many DIY coating products popping up in the past few years, how do you separate the good ones from those that are recycled garbage?
That’s what we’ll explore today. In the info below, we’ll explain the ins and outs of do-it-yourself ceramic coatings, from how they are made, what they protect against, and how easy or difficult they are to apply. We’ll also introduce you to three of the top ceramic coatings available to consumers across the globe.
What is a DIY Ceramic Coating?
It’s quite possible that you’ve heard of those professional ceramic coatings for cars that can cost a lot of money to have installed. The DIY version of these coatings is a cheaper alternative but surprisingly produces almost the same level of protection. A ceramic coating itself is a highly concentrated paint protection formula that physically bonds the clear coat of a painted surface and creates a hard, nearly impervious shell of protection.
A ceramic coating is mainly comprised of SiO2, which is the chemical formula for silica dioxide. This is the primary ingredient that makes or breaks the quality of a ceramic coating. The general rule of thumb is that the best professional grade coatings are made with more than 90% SiO2.
The drawback of that high silica dioxide content is that it’s very difficult to apply. To combat that and make it easier for DIY car care enthusiasts to apply, manufacturers reduce the percentage below 90. That happy medium is a ceramic coating slightly higher than 80%.
What Does it Protect Against?

The primary job of a ceramic coating is to provide that strong layer of protection on top of a vehicle’s paint. It reduces the ability of harmful UV rays, road grime, salt, and other daily contaminants from penetrating the paint’s clear coat. They also contain incredible hydrophobic properties. This means that water literally slides off the coated surface, resulting in fewer water spots, and helping to keep your car cleaner for longer periods.
A ceramic coating also makes removing ‘sticky’ stuff, like bird dropping, bug splatters, tar, and tree sap much easier. The best DIY ceramic coatings require some level of prep work, but if done right, and applied as recommended, can provide superior protection for up to 5 years.
How Is a DIY Ceramic Coating Applied?
When it comes to using the term “easy” with regard to installing a ceramic coating, that’s a relative term. If you’re an experienced car care enthusiast and have used car wax & polishes for a long time, then it will seem ‘easy’ for you to apply. A novice on the other hand might find this task too difficult. Nonetheless, the process is fairly straight forward with all of the best ceramic coating products for DIY car care experts.
Here are the five steps for applying a ceramic coating correctly.
Prep Work
In order for a ceramic coating to adhere to a painted surface, it’s got to be free of debris and contaminants. This is accomplished through some rather labor-intensive prep work. Although each of the best ceramic coatings has their own recommended prep work, they all follow these five general steps.
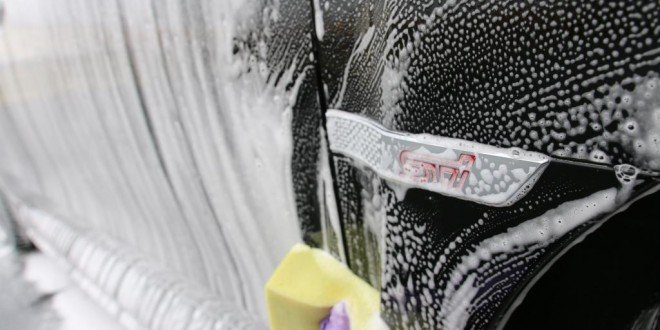
- Washing the Car: Washing the car completely using the two-bucket washing method removes most debris and also reduces the potential of scratching the paint or clear coat surface.
- Clay Bar Treatment: To fully clean the paint surface, you’ll likely have to clay bar the vehicle. This helps to remove those microscopic, hard to remove items that are trapped in the clear coating.
- Paint Correction: When a ceramic coating cures, it’s basically an extremely hard and impossible to shatter glass surface. As a result, whatever is underneath the coating will be amplified visually. So, if there are scratches or dull finish, you’ll really see the paint damage. As such, having paint correction completed prior to applying a ceramic coating is always recommended if there is any prior damage.
- Polishing: If you really want your paint to pop, consider polishing the clear coat before applying the ceramic coating.
- Final IPA wipe down: Using an IPA (isopropyl alcohol) solution helps to remove any oils, grease, or other contaminants prior to applying the ceramic coating.
Application

Once the prep work is done, you’re ready to apply the coating. Most of the leading ceramic coating manufacturers recommend applying it indoors (garage or shop), but always never in direct sunlight. The temperature range should be 50 to 80 degrees Fahrenheit. Also, high humidity is not a good mixture with ceramic coatings. If the vehicle has been outside in the sun, allow at least three hours indoors for the body temp to reduce. Always follow the manufacturers exact recommendations for applying.
Curing
Curing typically takes about 48 hours. However, there are some ceramic coatings that boast about curing in as little as three hours. The problem with the fast curing time is that applying can be tricky, since they will ‘flash’ quicker, there is a shorter margin of error.
Aftercare
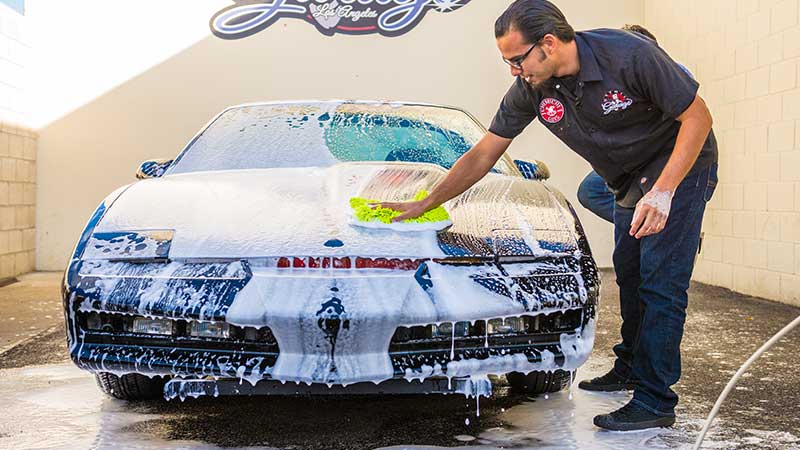
Aftercare for a ceramic coating product will vary based on the manufacturer. However, it’s generally accepted that washing your car every few weeks using the two-bucket method is best for ceramic coatings. You don’t have to wax or polish a coating after it has been applied.
What is the Best DIY Ceramic Coatings for 2019?
If you’ve reviewed the info above and are looking to take the plunge, there are 3 really good ceramic coating products that are head and shoulders ahead of others. The three we’ve selected have been highly ranked by previous or current owners in the following four areas:
- Easy to apply
- Provide superior protection and shine
- Last the longest
- Company offers the best support and service
Armor Shield IX – by AvalonKing

If you’re looking for the best, overall product with amazing customer service and support – it’s Armor Shield IX. This do-it-yourself ceramic coating is made by AvalonKing. It’s sold across the globe, with customers in Canada or the USA receiving free shipping, since it’s made and shipped from the US. In their relatively short history, this company has become well-known in the car care industry for providing exceptional customer service and support.
The Armor Shield IX product contains a SiO2 percentage above 80%, which makes it last from 3 to 5 years based on the paint condition, prep work, and following proper aftercare recommendations. In fact, Armor Shield IX is backed by a two-year minimum effectiveness guarantee, making it the only DIY ceramic coating product to provide a warranty.
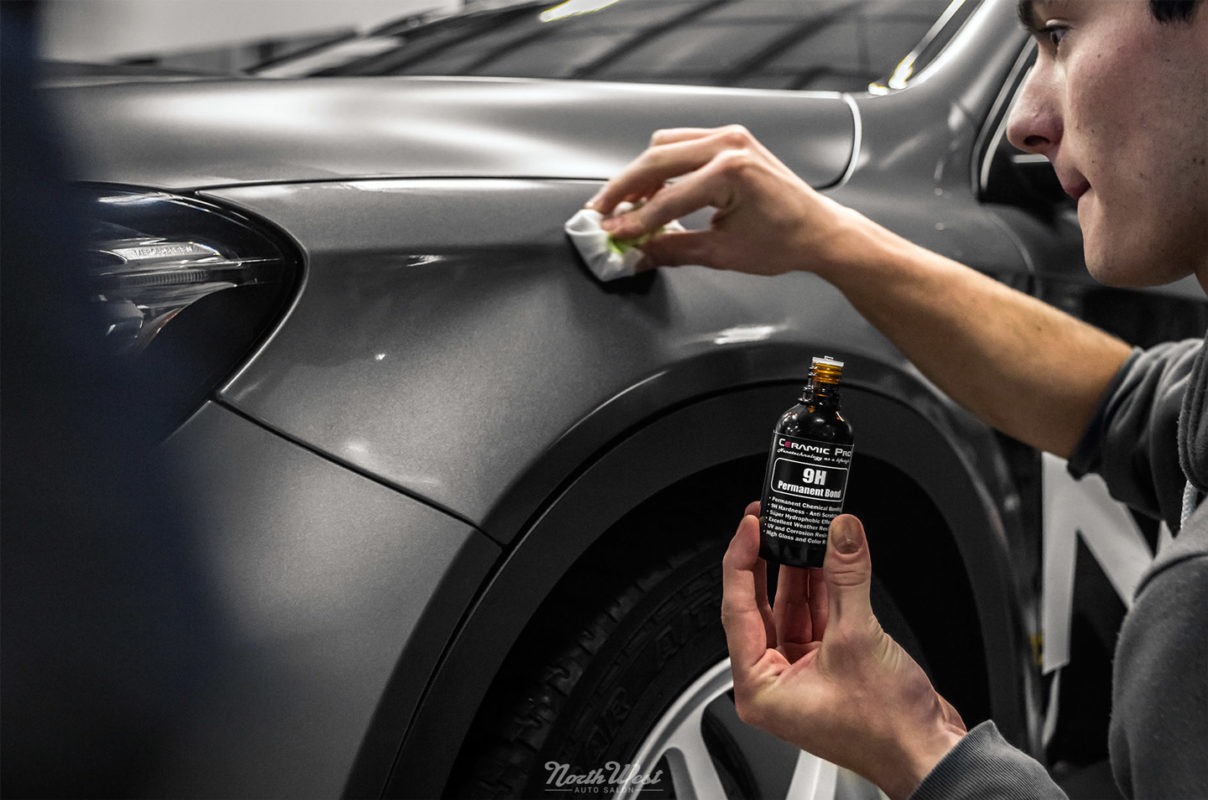
Armor Shield IX is only available from the manufacturer, meaning no third-parties or overpriced distributors involved in the sales process. The product is packed in an elegant matte-black box, with the chrome-plated 30ml bottle packaged snugly inside. Inside the kit you’ll find everything needed to apply including an easy to use applicator sponge, several applicator cloths, protective gloves, and detailed, illustrated instructions.
A reliable braking system is essential for all vehicles. Click here to checkout r1 Concepts brake rotors review too!

Their 30ml bottle will be enough for a motorcycle or small car, but they recommend (2) kits for mid-sized cars and small pick-ups, and (3) for full-sized trucks and SUV’s.
Pros
- Best customer service in the business
- Highest SiO2 % – yet easy to apply
- Superior Hydrophobic Properties
- Daily driver to show car quality
- 3+ Years of Protection
- Discounts for multiple bottle purchases
- Free and Fast Shipping to US & Canada
Cons
- Not the cheapest ceramic coating
- Requires good prep work for optimal results
Get Armor Shield IX Ceramic Coating DIY Kit Here
CarPro Cquartz 3.0 UK Ceramic Coating

For those living in colder climates looking for a ceramic coating that is easier to apply in colder temps, CarPro has a very good product to consider. Cquartz 3.0 UK is CarPro’s third formula for their popular nano ceramic coating. It is promoted as having 70 percent of 99.9% pure SiO2, which permits it to provide a strong layer of protection and makes it easy to apply. The lower percentage also reduces the ‘flash’ time during application, which helps to expand the temperature range.
Unlike Armor Shield IX, this product is sold from geographic-based distributors. It’s also sold in a 50ml bottle. It is also available to UK and European customers with a 30ml version (they call it a reload kit), that’s mainly intended to provide extra product for larger cars and trucks. For optimal results, they recommend applying two layers, and suggest it can last more than 3+ years but is not supported by a warranty or guarantee.
In the kit you’ll find (1) 50ml bottle, (1) 16” microfiber suede towel, (1) foam applicator block, (5) 4” MF suede applicators, and a sticker. You can purchase it from Amazon.com or from one of their distributors depending on your location. Shipping is additional.
Pros
- Easy to apply
- Wide temperature range for application
- Provides great protection for up to 3+ years
- Available with multiple aftercare products
Cons
- Needs multiple layers so will take longer to apply
- Lower SiO2 Percent can fade quicker than stronger competitors
Color N Drive 9H Car Ceramic Coating

If cost and fast application is your number one consideration, you can’t go wrong with Color N Drive 9H Car Ceramic Coating. This product is a mid-range DIY ceramic coating that is about $10 cheaper than most competitors. According to their website, it’s a product that can last up to 5 years or 150 car washes, mainly due to 9H hardness of their product. But, in all fairness, the two items above are also 9H, which refers to the pencil harness scale.
Like Cquartz 3.0 UK, it’s sold in a 50ml bottle. It also has the shortest curing time of only 3 hours. This makes it faster to apply and head on the road, which is convenient for daily drivers. However, the quick curing time can cause difficult applying and removing. The manufacturer also offers free shipping and includes a 150ml pre-treatment spray in their kit.
Inside the kit, you’ll find (2) coated sponges, (1) microfiber cloth for spreading or applying the product, and (1) for polishing or removing. They also include a pair of gloves for protection.
Pros
- One of the cheaper priced ceramic coatings (for the size)
- (1) bottle can cover most sized cars
- Cures very fast
- A good option for daily drivers
Cons
- Should be applied in cool, dry climates to reduce mistakes
- Fast curing time can make it tricky to apply
Wrapping it Up
The best attribute of a ceramic coating is that it really doesn’t need to be upkept with chemical cleaners or other special ingredients. While some manufacturers sell ‘care kits’ or special products, it’s mainly window dressing. To keep any DIY ceramic coating in good shape, you simply need to hand wash your car every few weeks by using the two-bucket method.
The three products we listed above are great for a daily driver, a garage collectible, show car, or even race car if you’re looking for a brilliant shine without having to frequently wax and polish. It’s great for protection, and will produce a wet-like, showroom gloss when properly applied.
One final tip. If you’re going to buy a DIY ceramic coating, make sure to research the company and product reviews. Also, watch installation videos from people like yourself – not just experts that make it look easy.
Facebook Comments