You put significant effort into keeping your car running its best. And you want it to look as good as it runs. That’s why you should periodically inspect your wheels and perform routine maintenance and repairs when necessary. There’s no need to take it to a shop when you can do it yourself; here’s how.
Inspect your wheels
Always make sure your wheels are cool before you inspect them or do any maintenance. You should make a quick inspection of your wheels each time you wash your car. Quarterly, take your time and make a thorough inspection.
Check Lugs and Bolts
Start your inspection with the lugs or bolts. If your wheels come with a center cap, remove it to expose the lugs or bolts. Carefully inspect the lugs or bolts for any signs of rust or damage.

Check for Curb Rash
Today’s aluminum alloys make for great lightweight wheels, but they will scratch. If you’ve cut a corner too sharp or brushed the curb when parallel parking, there’s a good chance that you’ve got some curb rash on your rims. Carefully inspect the outer lip or outer facing flanges of each wheel for scratches or gouges. (Not sure where those are? Check out this guide to wheel anatomy.)
If you find damage, you can hide it with a rim protector or repair it using the instructions in the sections on repairing road rash and painting your wheels.
Maintaining your wheels
Road salt, brake dust and road debris all take a toll on your wheels. Brake dust can pit or mar clear coatings and salt promotes rust. It’s important to keep your wheels clean and protected, but keep in mind that harsh cleaners and chemicals are also damaging. Pick products with care.

Washing your wheels
Always wash your wheels with a mild, nonabrasive soap. Chrome wheels can stand harsher chemicals than painted wheels. Most household cleaners have surfactants that are too strong for your rims. If you aren’t sure what soap to use, pick a wheel cleaner product that is safe for all wheels.
If you are washing the car at the same time as the wheels, wash the wheels first and use a separate bucket and rag. The brake dust and dirt from the wheels can damage the paint on your car.
Wash one wheel at a time to keep soap from drying on the metal. Hose off the loose soil and then suds ‘er up. Use a soft bristle brush, rag or mitt. Wipe to remove grime and then rinse. Complete this process for each wheel individually then dry the wheel with a microfiber towel. The drying step removes any water spots and brake dust that may have been left behind. Don’t use your wheel towel to wipe any other part of your vehicle as small particles captured by the towel can scratch and mar other finishes on your car. You don’t want to do that!
Claying alloy wheels
Sometimes no matter how hard you scrub, you just can’t get embedded brake dust off alloy wheels. That’s when a clay bar for detailing comes in handy. The clay grabs the embedded brake dust and pulls it out of the metal. If you are going to clay detail your wheels, do it after the wheels are cleaned but before they are waxed.
Spray the wheel down with a claying lubricant. Form a piece of the clay bar into a patty and rub the clay over the wheel. Rub the clay back and forth over the wet area until you feel no resistance. Wipe dry with a microfiber or terry towel. Continue to fold the clay patty to create a clean area as you work.
Waxing your wheels
Chrome, alloy and painted wheels all need protecting. You can apply a light coating of car wax or a special wax made just for wheels. Apply a light coating, let dry to a haze and then buff buff buff. Whether you use wax or a high-tech coating, it will protect your wheels from salt and brake dust and make your wheels look new longer.
Repairing road rash on wheels
If your wheels hit concrete, they will look scuffed and worn. You can remove that road rash without replacing the wheels. It’s not hard.
Start by determining if you have a clear coat. If you aren’t sure, rub the wheel with a 220-grit sandpaper. If a grey dust appears, there is no clear coat to remove. If the dust is white, continue to sand the damaged area to remove the clear coat. The clear coat is gone when the dust turns grey.
Next, use a 60 – 80 grit sandpaper to sand out the imperfections. As you sand, continue to wipe the dust away with a rag. Continue sanding and slowly work up to a 200-grit paper until you have most of the rash sanded out.
Blend in the area you just sanded by dry sanding with a 400-grit sandpaper. Use a feathering motion and rub until it is smooth. Always work from the middle of the damaged area outwards. As you sand, continue to remove dust by wiping with a rag.
Polish by alternating with dry sanding and wet sanding. Dry polish with 2000-grit sandpaper using a circular motion and light pressure. Focus on blending the edges. Once it is smoothed, wet sand with 2000-grit sandpaper in circles for 3 to 5 minutes. Alternate back to wet sandpaper for 1 minute and then go back to dry sandpaper. Finish with a 2500-grit sandpaper and then wipe down with a soft rag. Finish with a coating of aluminum polish. Rub with aluminum polish until the sanded area looks like the rest of the wheel.
Painting your wheels
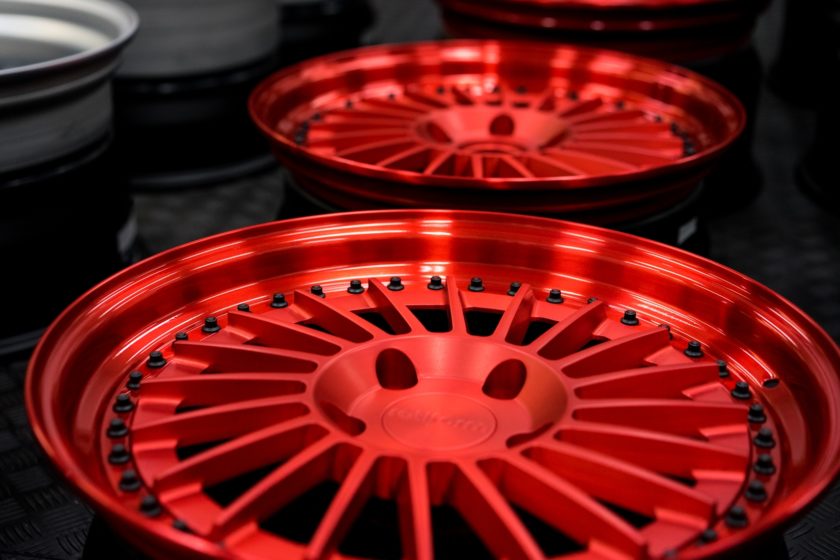
If the wheels really look bad or you are just ready for a new look, then it’s time to paint your wheels. Painting your wheels is a simple DIY project. You’ll spend more time preparing the wheels than painting, so be prepared.

Remove wheels – You don’t want to overspray onto your car’s paint job or get drips. So, start by taking wheels off the car.
Clean wheels – Be sure to pay attention to the areas between the spokes. Clean all grease, grime and dirt from the wheel and then rinse thoroughly with water and wipe dry.
Smooth the surface – It’s important to remove any rust or chipping paint. You must have a smooth surface before you can prime. Whether you use a wire brush and elbow grease, a wire brush attached to a drill or a wire brush attached to an angle grinder remove all traces of rust and deposits. Next sand with a 300-grit sandpaper and then a 500-grit sandpaper. After the entire wheel is sanded, rub all surfaces of the wheel with steel wool until you have a smooth finish. Once the wheel feels smooth, wash it again, dry it off and wipe it down with mineral spirits or paint thinner. If there are any rough spots repeat this process until the wheel is smooth.
Get ready to prime – Protect your tires from the overspray. Place the wheel on a tarp or drop cloth to protect the surrounding area. Next, tape the edge of the tire with painter’s tape being sure to get the tape under the rim, between the wheel and the tire. Once the edge is covered, apply another round of painter’s tape and secure newspapers or plastic sheeting over the tire. Don’t forget to protect the valve stem by covering it with a strip of painter’s tape.
Prime – Apply 2 to 3 very thin coats of self-etching primer. Each coat should dry thoroughly before the next coat is applied.
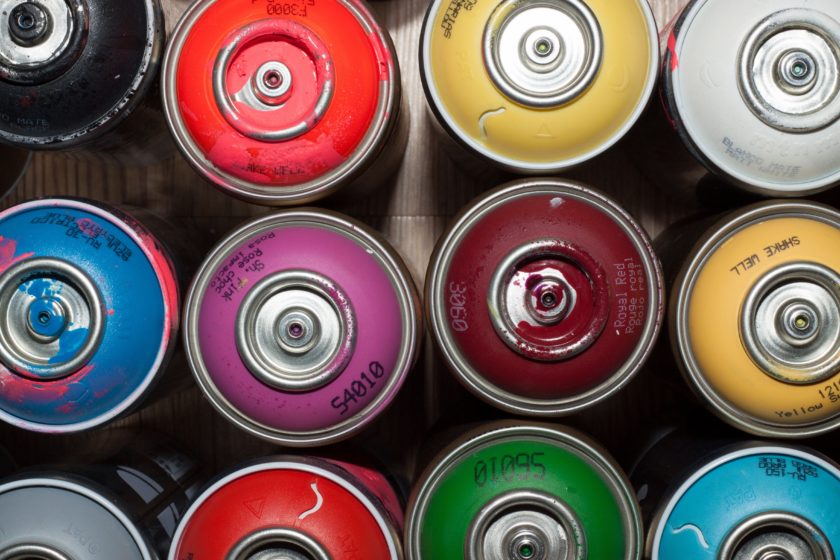
Paint – Hold the can of paint at the distance recommended on the label and spray lightly in a back and forth motion. Don’t hold the can too close to the wheel or you will get drips and runs. Let each coat of paint dry completely before the next one is applied.
Protect – Apply a clear top coat to protect your new paint job. Apply 1 or 2 coats and let the wheels dry overnight. The next morning, remove the protective newspaper or plastic and painter’s tape and reinstall your wheels on the car.
Take care of your wheels and they’ll keep you rolling in style for years.
Author Bio
Chuck Krause is Wheelfire Blog’s managing editor. Since the early 2000’s, he has managed and owned a number of internet retail stores in the automotive parts industry. He is an especially enthusiastic owner of his off-road “monsterized” Jeep Wrangler. A fixture in every summer’s Jeep jamboree, (where his reputation for extreme mudding and trail riding are legendary) Chuck is well known for his infectious passion and knowledge about all things automotive.

Facebook Comments