Recently I get a Car Video Recorder Transcend DrivePro 200, thanks to Transcend Co. for sponsored me a unit for review.
In this article, I will share about how I DIY to install the Car Video Recorder DrivePro 200 in my Toyota Vios without caused any messiness in the interior of the car. Below are the photos of the Transcend DrivePro 200 unit that I received:
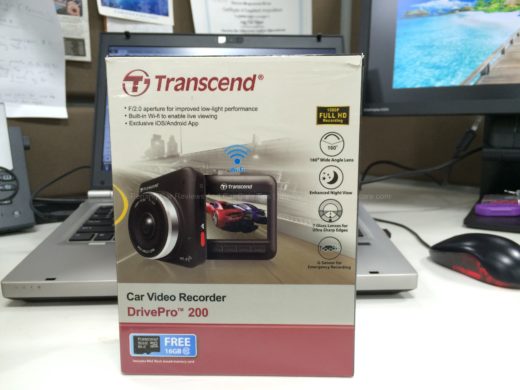
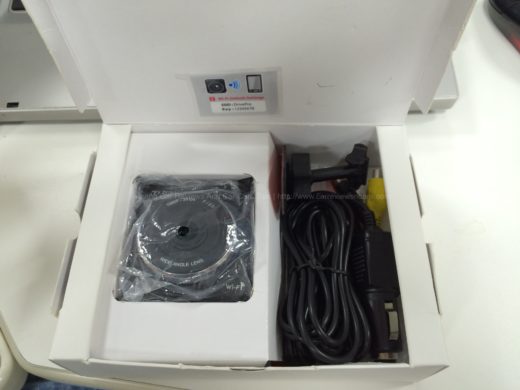
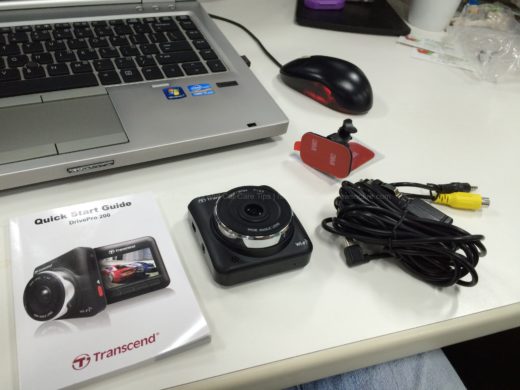
Now we are going to DIY install the Transcend DrivePro 200 into the Toyota Vios.
Step by step to DIY Car Video Recorder Transcend DrivePro 200 installation
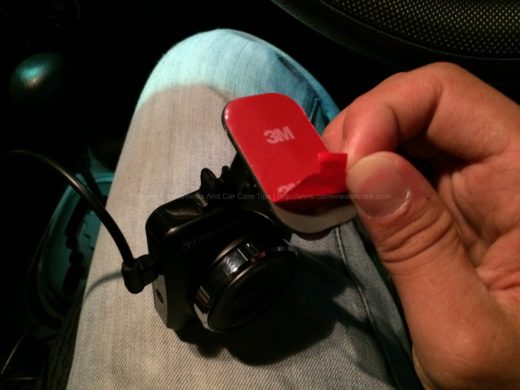
1) To assure we affix the right position of the DrivePro 200 car video record on the windscreen, we started the DIY on the Transcend DrivePro 200 itself first instead started from the wiring. We attach the car mounting bracket to the DrivePro 200.
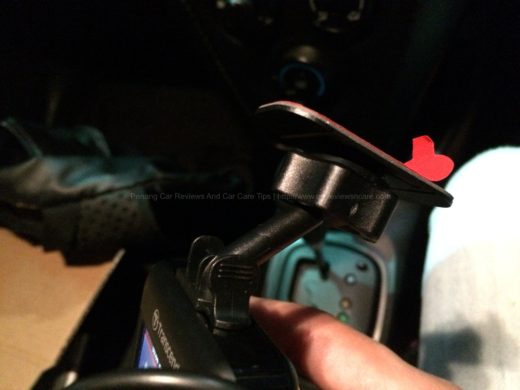
2) Then find the right position on the car windscreen, where the DrivePro 200 able to capture the front view without causing any obstruction to the driver.
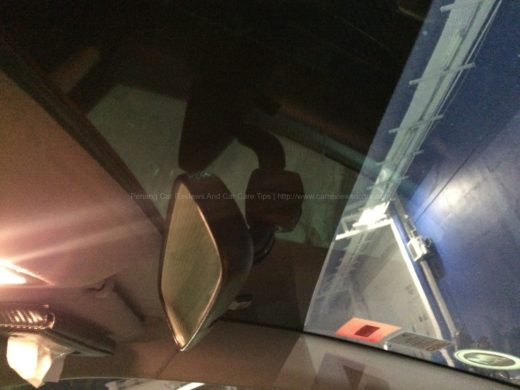
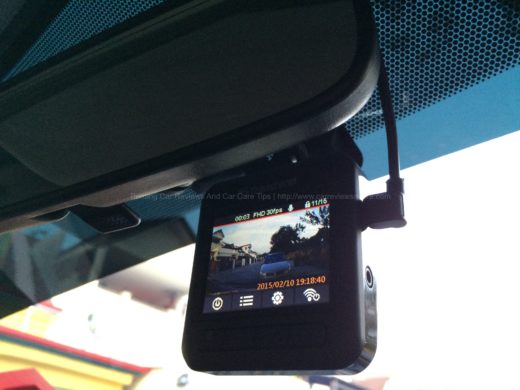
3) Next step is to peel off the 3M protective tape on the car mounting bracket and attach the DrivePro 200 on the windscreen after we have defined the right position for the unit.
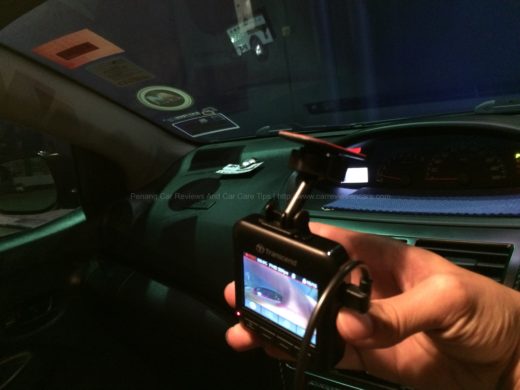
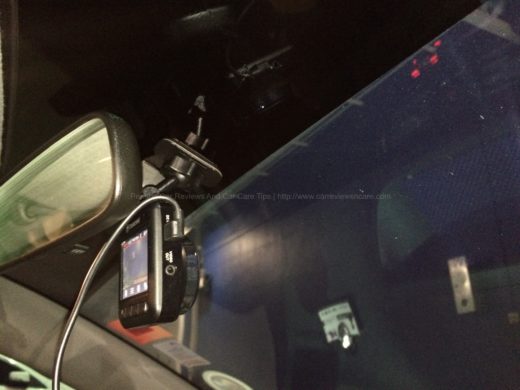
4) The DrivePro 200 should be able to be removed from the car mounting bracket without causing the car mounting bracket dropped from the car windscreen.
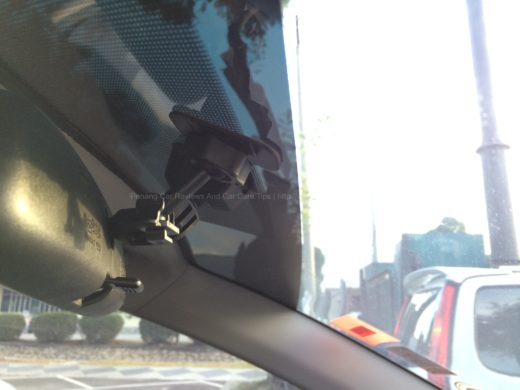
5) Once we had affixed the DrivePro 200 on the car windscreen, next step is to start align the wiring from the DrivePro 200 to the windscreen sideline and sip into it as below images:
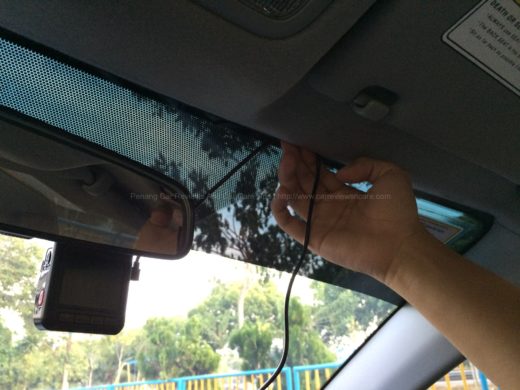
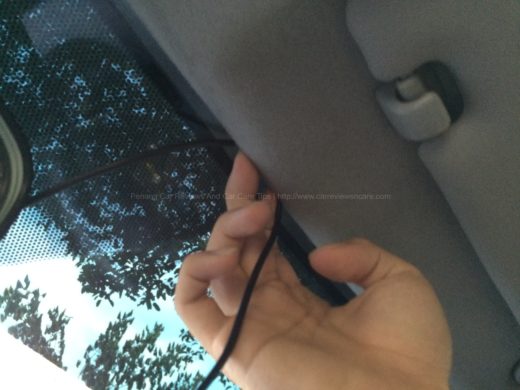
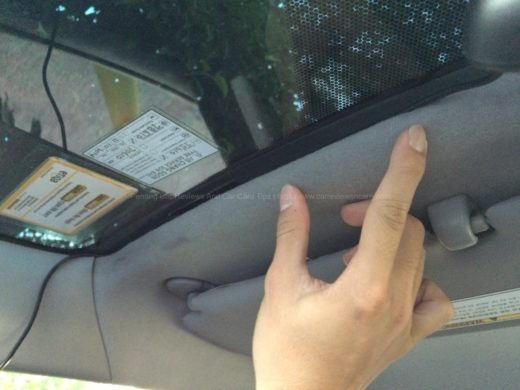
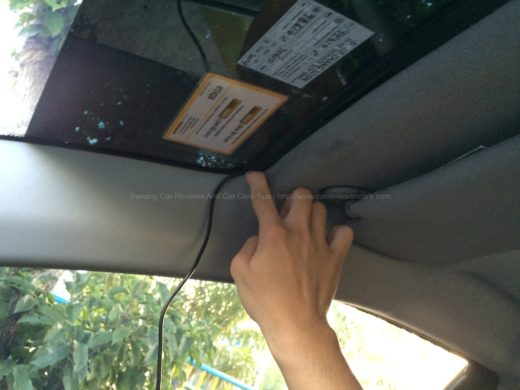
6) After secured the DrivePro 200 wiring into the car windscreen top cover, next step is to sip in the wire in the side cover as below as below images:
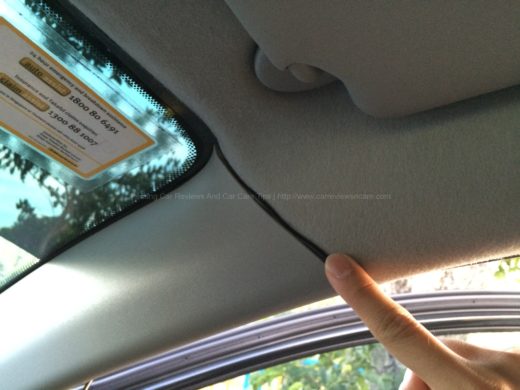
7) After we sipped the DrivePro 200 wire through the side cover, thenwe sip in the DrivePro 200 wiring into the rubber lining as below:
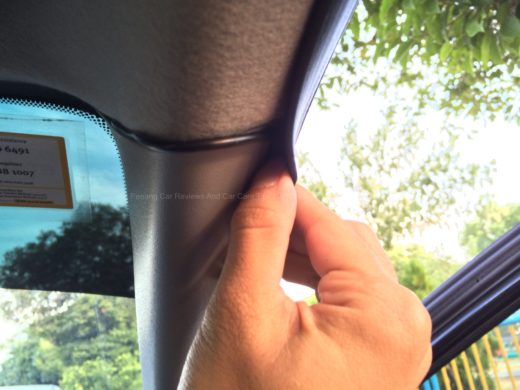
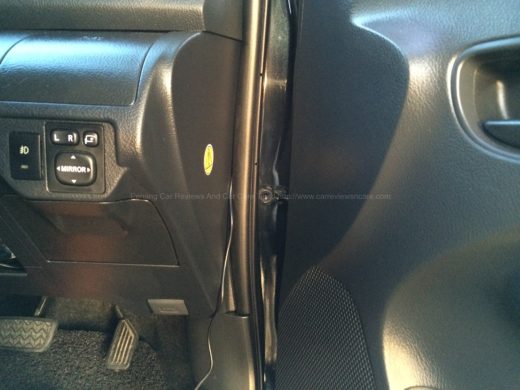
8) Sip the DrivePro 200 wire into the rubber lining and also into the bottom side cover as below:
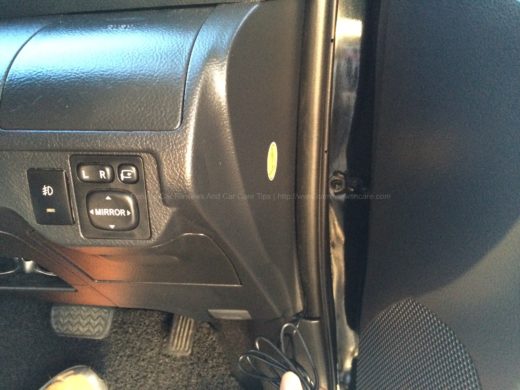
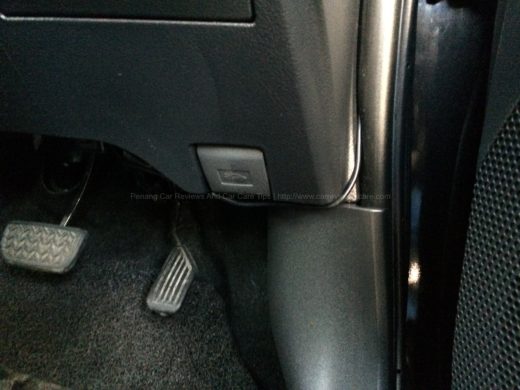
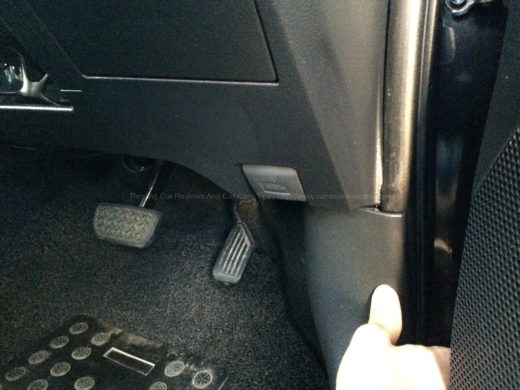
9) Next step is align the DrivePro 200 wire under the steering cover. Here is the tricky part, where we have to locate the ‘hook’ behind the cover to hang the wiring on it:
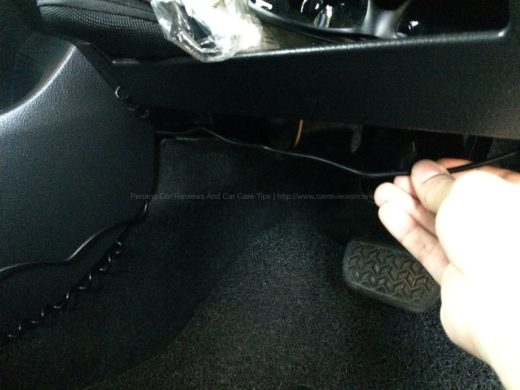
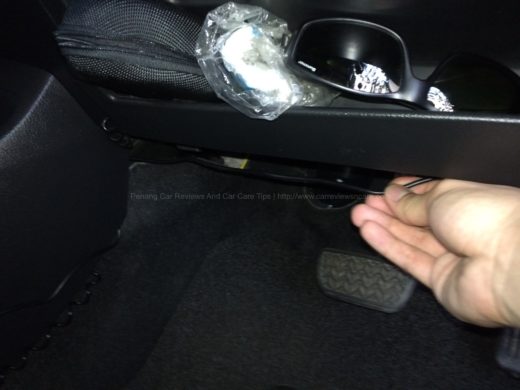
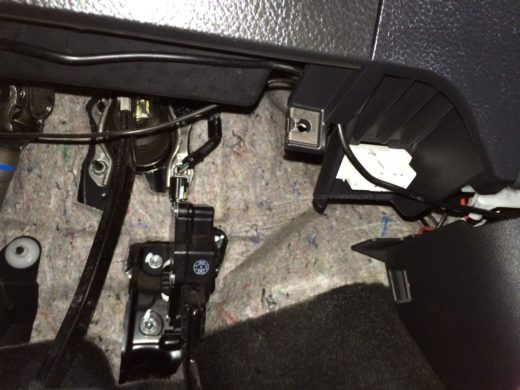
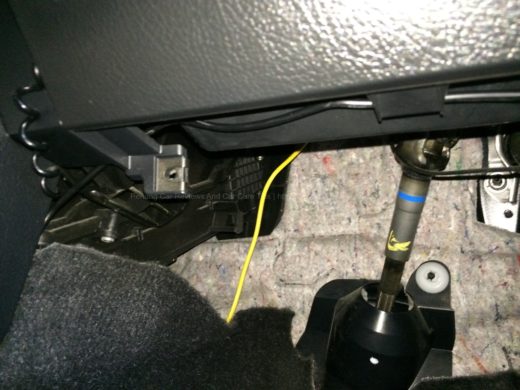
10) We are almost done, next is we sip in the DrivePro 200 wiring into dashboard cover. There is a ‘hook’ behind the cover as well, user can hang the wire behind the cover below:
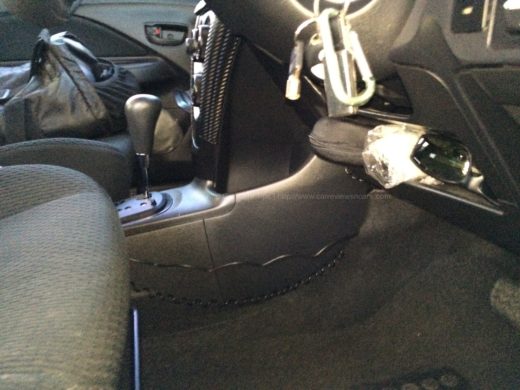
11) Next step is we connect the DrivePro 200 socket to the 12V car socket as below photo:
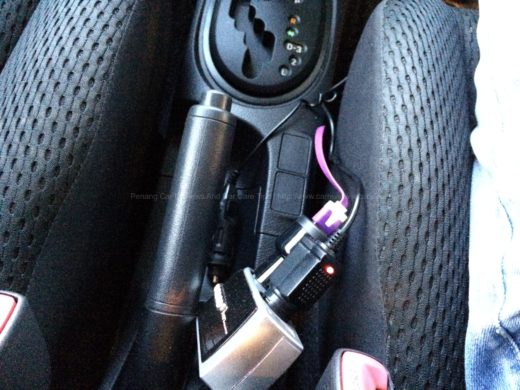
12) Tide up the excess lengthy DrivePro 200 wire once the wiring setup is completed and sip it between the seat and handbrake compartment:
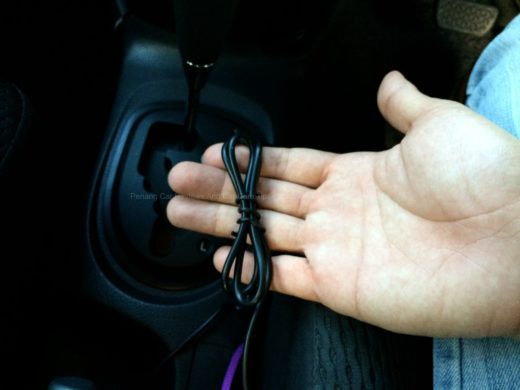
We have completed the DIY DrivePro 200 installation and it is done in the neat way!
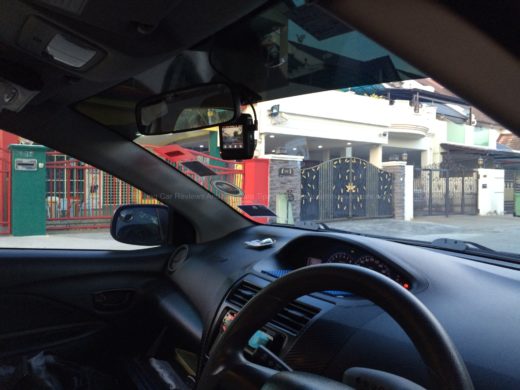
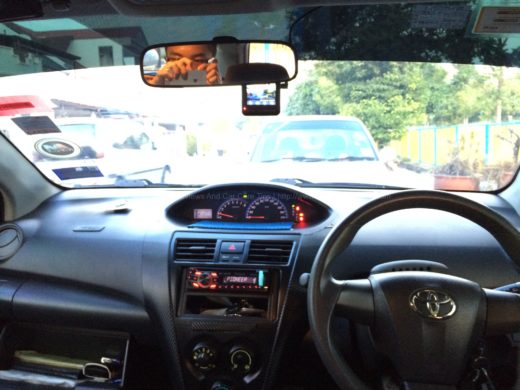

Check out the Transcend DrivePro 200 Review & Footage too!
Let me know if you have any query, and don’t forget to give us a ‘LIKE’ at bottom

First off I would like to say great blog! I had a quick question which I’d like to ask if you do not mind.
I was interested to know how you center yourself and clear your mind before writing.
I have had difficulty clearing my thoughts in getting
my thoughts out. I do take pleasure in writing but
it just seems like the first 10 to 15 minutes are generally lost just trying to figure out how
to begin. Any ideas or tips? Thank you!
Hi, i feel that i saw you visited my blog thus i got here to return the choose?.I am trying
to find issues to improve my web site!I assume its ok
to use a few of your concepts!!
It’s amazing to go to see this website and reading the views of all mates regarding this
piece of writing, while I am also keen of getting knowledge.
Hi Kelvin,
Mine telling me, when you off your Vios Car engine do you unplug the cigarette charger?
Will the car dash cam cigarette charger adapter drain car battery?
Hi Colin,
I never unplug the cigarette charger from the plug. The plug would not produce any electricity when the car is turned OFF.
Don’t worry
I’ve recently started a website, the info yoou offer on this
website has helped me tremendously. Thanks ffor all of your time & work.
If you want to get much from this post then you have to apply such methods to your won blog.
Yes! Finally someone writes about vmware workstation 10 clipboard.
Nice post. I learn something totally new and challenging
on blogs I stumbleupon every day. It will always be exciting to read through
content from other authors and practice something from their websites.
Good information. Lucky me I came across your blog by chance (stumbleupon).
I’ve saved it for later!
You’re so cool! I don’t think I have read anything like this before.
So nice to find someone with original thoughts on this topic.
Really.. thanks for starting this up. This web site is one thing that is required on the internet, someone with
some originality!
Thanks for sharing your thoughts on 12v socket.
Regards
I am regular reader, how are you everybody? This article posted at this web page is really
pleasant.